All about detailing clay bars | What are they and how to use clay safely on your own car
What is detailing clay, and can you DIY it?
Or should clay bars be left to the professionals?
I'll answer all of the most common questions about detailing clay.
I’ll address the myriad questions like:
- Do I clay bar before or after a wash?
- How many times can I use detailing clay?
- Do I need to wash my car after claying?
- Should I wax my car after claying?
- Can I clay bar a wet car?
- What’s the best way to use a clay bar?
- Does clay bar remove clear coat?
- Do I need to dry before clay bar?
- The best clay bar lubricant.
- What does a clay bar do?
…and countless more.
Terms I’ll use in this article
PPF, paint protection film, Clear Bra: referencing the clear films that are applied to vehicle surfaces to prevent rock chips and scratches.
Matte, satin: the appearance of a surface that is dull and doesn’t reflect light; the opposite of shiny or glossy.
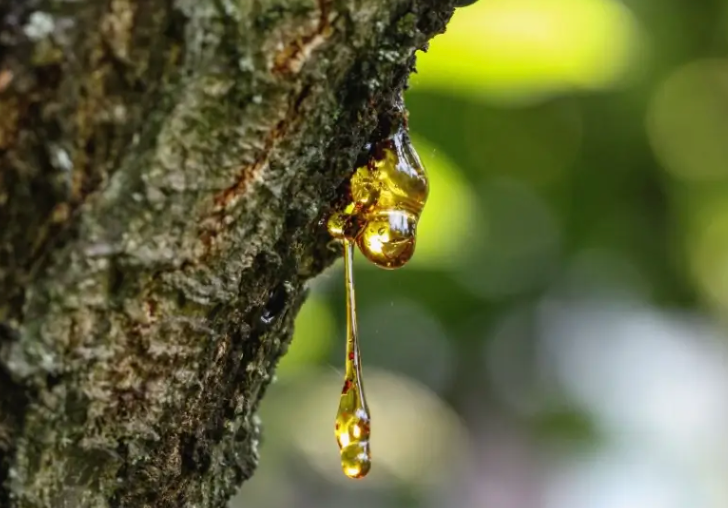
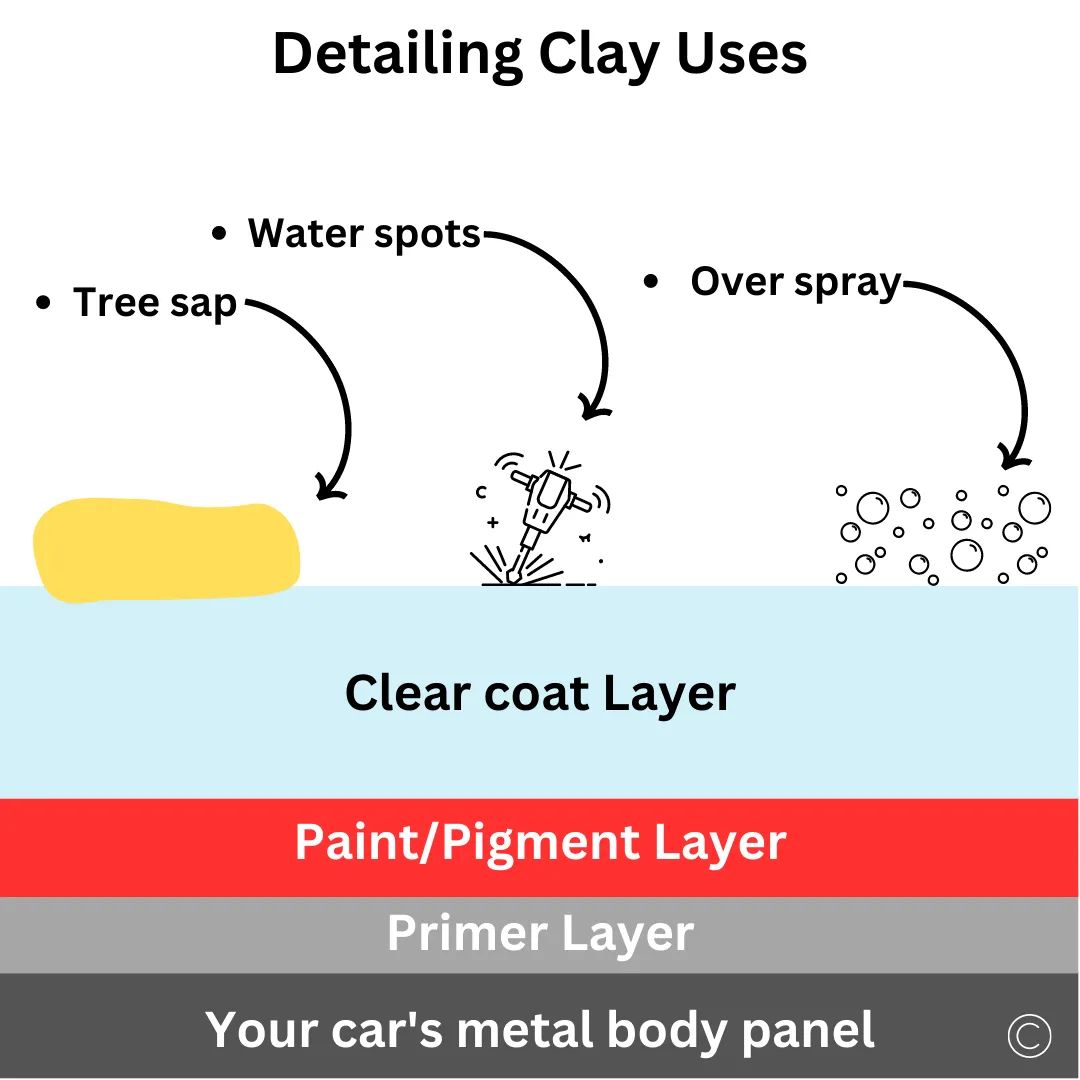
Bonded contaminants: anything that's stuck to your car's paint that isn't easily removed by regular washing, i.e. tree sap, road tar, paint over spray, hard water mineral deposits, etc.
Look for my pro tips - tricks that we professionals do to save time and/or do a better job.
What I’ll cover in this article
- What exactly is detailing clay?
- Who invented detailing clay?
- What is detailing clay used for?
- What surfaces can detailing clay be safely used on?
- What are the limits of detailing clay?
- How to tell if I need to use detailing clay.
- What are the different types of detailing clay, pros and cons of each.
- Which detailing clay is best for me? Types of clay reviewed.
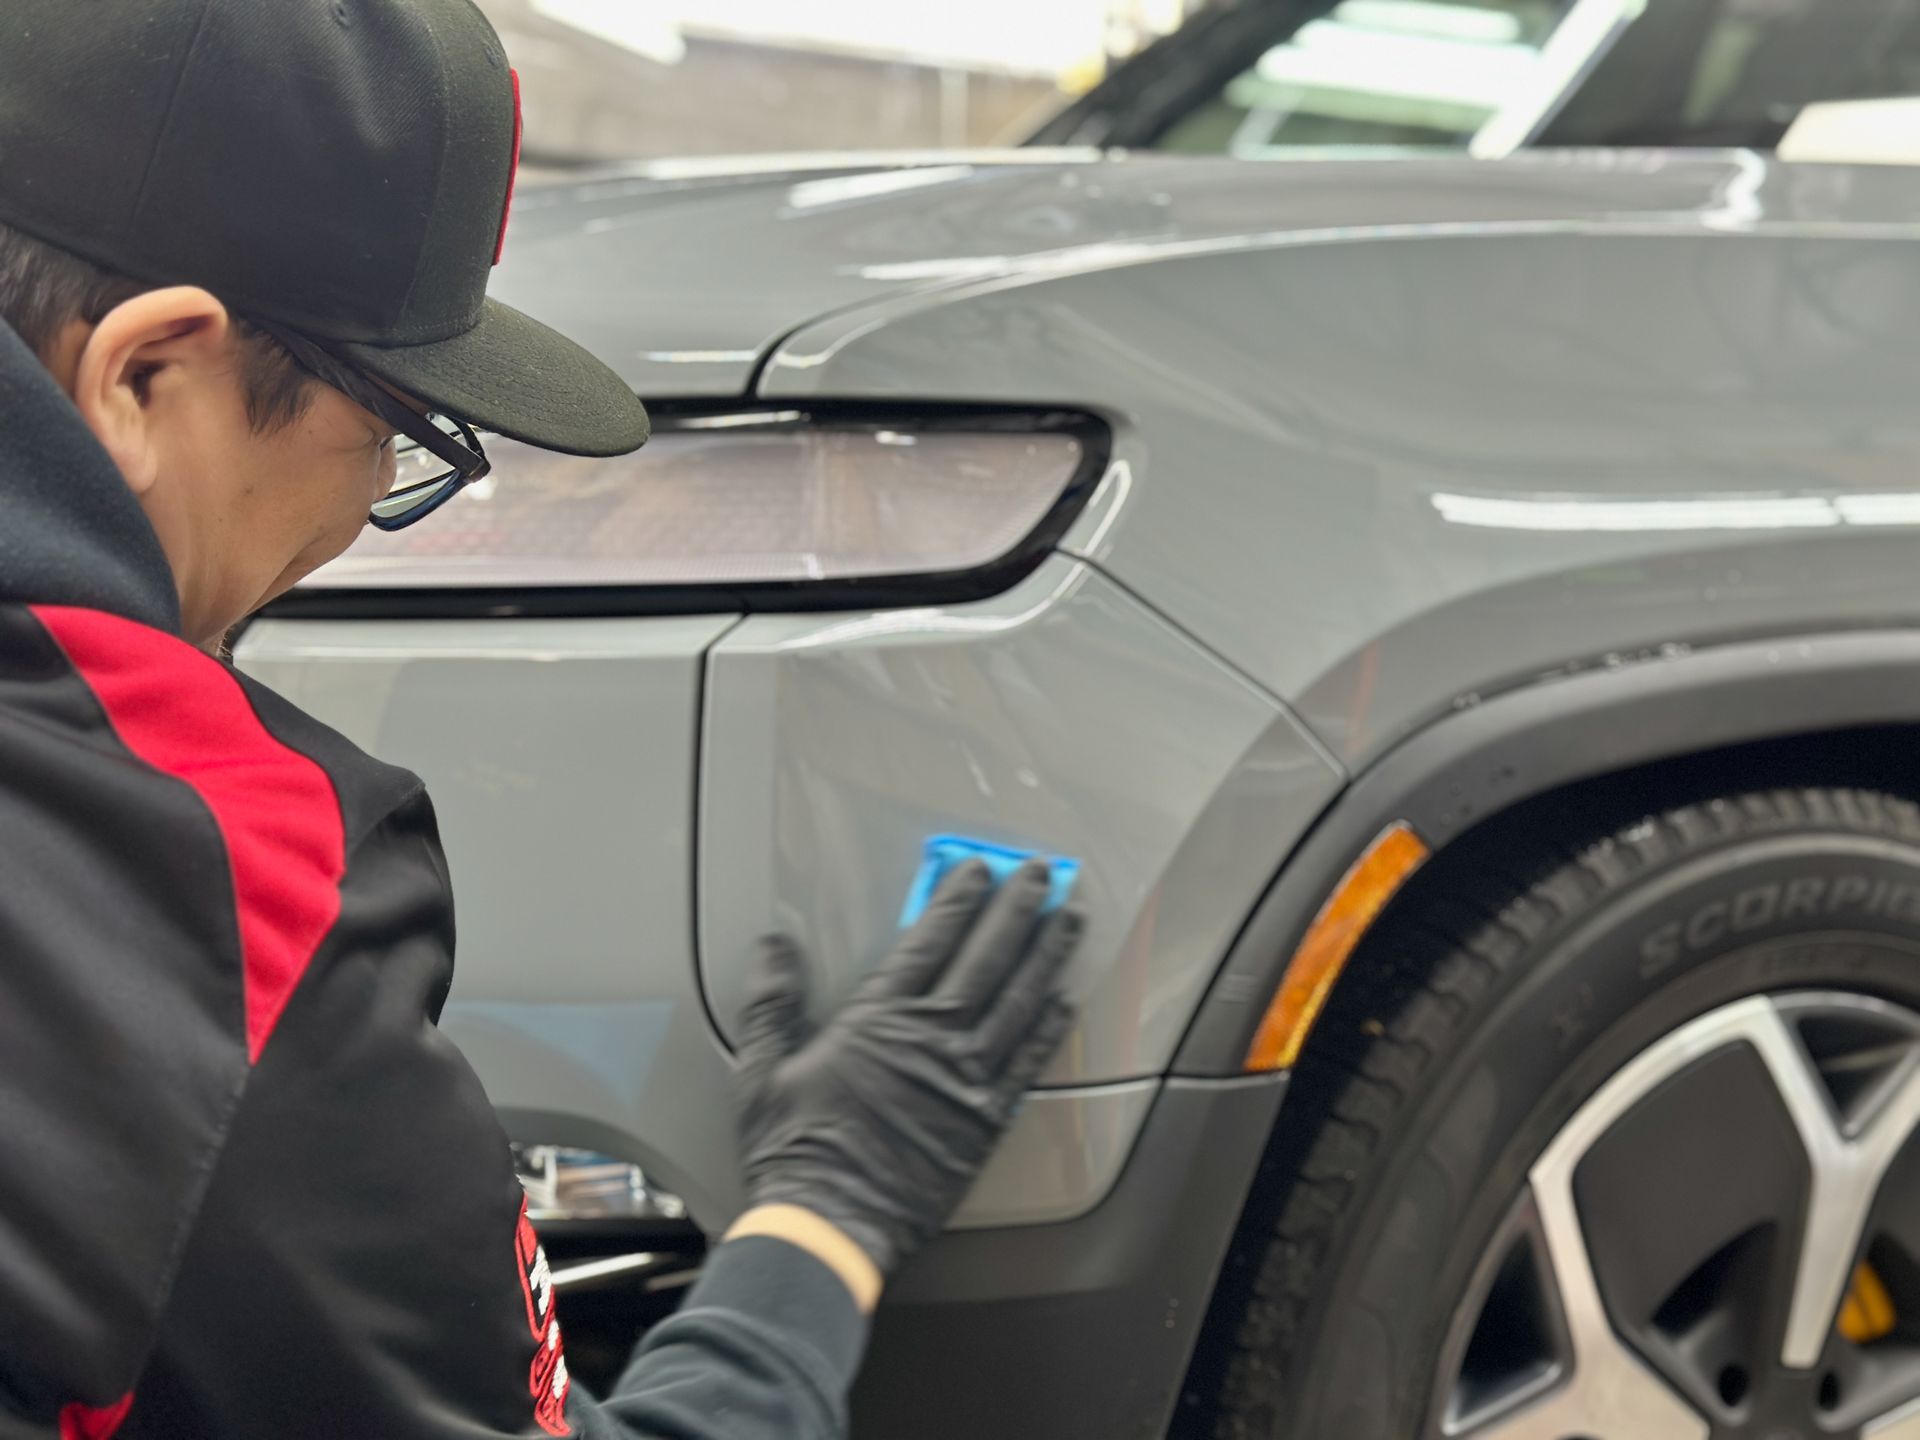
- How to safely use detailing clay on my car.
What exactly is detailing clay?
Detailing clay is simply a putty-type substance that is used to help remove bonded contaminants from a car’s painted and glass surfaces.
Depending on the brand and type, (synthetic or original) it may contain aluminum oxide abrasives, polybutylene, talc, silica, polymers, and varying pigments (the pigments determine the final color of the clay, but the color has no bearing on the effectiveness of the clay whatsoever, it is only used for marketing and branding purposes, so don’t be influenced by the color of any given clay)
The clay is a relatively stiff material depending on how cold or warm it is.
Cold clay is very stiff and therefore needs to be warmed and kneaded to form it into a useable shape.
Very warm clay can be too malleable and fall apart when trying to use it.
Generally, 60-80F is a good range for using clay bars.
Synthetic clay is a little more forgiving in regards to temperature and malleability.
Will any clay work, or must it be detailing clay?
It must absolutely be designated automotive detailing clay.
Today this is common sense, but when detailing clay was first invented back in the 80’s there was a lot of skepticism amongst consumers who thought it was just an expensive scam to get them to buy the new product. So some people just bought random clay from the local art store and tried that on their car. Of course this didn't work and was a waste of money.
Who invented detailing clay, and how long has it been around?
Detailing clay was invented in 1987 by the chemist and founder of Joybond Co. in Saitama, Japan, Tadao Kodate (pictured below).

Shortly after the now-common basecoat-clearcoat painting systems were invented and applied to modern cars, Mr. Kodate began trying to find an easier way to remove bonded contaminants from this new kind of automotive paint.
The brilliant chemist that he is, Mr. Kodate researched and eventually invented detailing clay as the best way to accomplish the safe removal of bonded contaminants from painted automotive surfaces.
His invention eliminated the very laborious and dangerous task of either scraping off these contaminants, or aggressively polishing them off (which frequently led to premature thinning of the clearcoat, or inducing buffer-swirls that are horribly unsightly, especially on darker colored cars)
However, it wasn’t until the late 90’s that detailing clay became widely available to professional detailers in the USA.
But when it arrived in the USA and around the rest of the world, it absolutely revolutionized the detailing industry due to its extreme effectiveness and safety over any previous method used to remove bonded contaminants.
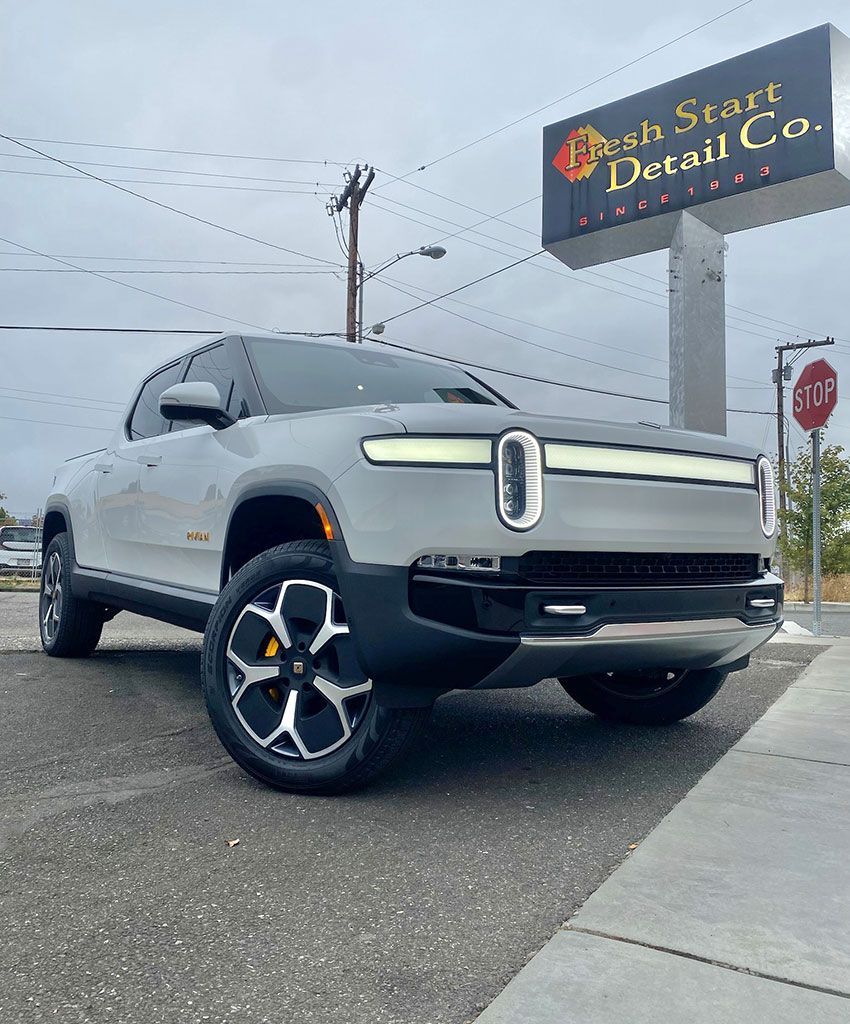
Personal note: When I first saw the benefits of detailing clay at my detailing business, Fresh Start Detail Co. in Beaverton, Oregon in 1997, I was immediately able to slash my prices for my decontamination services while still doing a better job then my local competition.
I dominated that niche for literally years due to my early adoption of this groundbreaking invention. I will forever be grateful for Mr. Kodate's efforts in my profession.
Tadao Kodate is even enshrined in the
International Detailing Association Hall of Fame for his contribution to the industry.
What is detailing clay used for?
Detailing clay is used on automotive clear-coat paint to safely and quickly remove bonded contaminants.
It is used by virtually every professional detailer in the world due to it’s effectiveness. However, it can also be safely used by the home DIYer with some basic instruction.
What surfaces can you safely use detailing clay on?
Detailing clay was invented to be used on glossy (not matte or satin or "frozen") automotive clear-coat type paints (virtually all automotive paints nowadays are clear-coated)
But it can also be safely used on glass and chrome.
What surfaces to avoid when using detailing clay, and why.
Since detailing clay is designed to glide across a lubricated surface to gently pluck off bonded contaminants, any surface that is not hard and glossy should be avoided.
So avoid using detailing clay on matte paint (or matte paint protection film), textured trim, and soft plastics.
Caution, hard plastic surfaces like some exterior mirrors and B-pillars may seem hard and glossy, but since they are plastic, they scratch extremely easily so therefore using clay on them should be avoided. Unless you plan on replacing those plastics anyway, then go ahead and take a stab at claying them, but don’t say I didn’t warn you.
What will happen if I use detailing clay on a matte satin finish?
Well, it’s like dragging cheese across a grater, the clay will shred and leave a mess that requires more work, and the contaminants that you’re trying to remove will still be there.
The best way to remove bonded contaminants from matte paint is to avoid them in the first place.
Avoid parking under trees, park away from lawn sprinklers, always dry your car immediately after washing.
Also, wash your car at least bi-weekly, and remove anything serious like bird poo, bug splatters, tree sap, overspray, etc, immediately.
You can also get another level of great protection by applying a matte-specific ceramic coating like Opti-coat Pro. This coating makes it harder for contaminants to adhere to your paint, which gives you another level of cushion to remove them before they have a chance to do their inevitable damage.
Limits of detailing clay
By now it sounds like detailing clay is a wonder-tool that does everything except buckle your safety belt.
But there are limits of what clay can do.
Some bonded contaminants are too bonded for even clay to remove.
Contaminants that have been allowed to dwell on the surface long enough that they have burrowed their way deep into the clear-coat are problematic.
Some examples are hard water mineral spot deposits, paint overspray, and paint-transfer.
Sometimes after using clay, the surface will feel smooth to the touch, but you can still see something on the paint. What’s happening here is either the contaminant has burrowed below the surface of the paint (so you can no longer feel it), or the contaminant has caused an etch mark that still remains even after the contaminant is removed. In cases like this further action is needed, usually by a professional detailer.
Can detailing clay remove water spots on your car’s paint?
Usually clay cannot remove water spots, due to 1of 2 issues.
- Due to the speed that the chemical reactions occur between the minerals in your water and your clear-coat, they often become too strong of a bond for clay to easily remove.
- The minerals have been on your paint long enough to burrow their way past the surface level and therefore leave a permanent etch on your clear-coat. If caught early enough, this etch may be able to be polished out, but only by an experienced detailer.
Note: ceramic coatings were specifically invented to protect automotive paint against the permanent damage that water spots cause. Ceramic coatings do this by being much more resistant to the chemical reactions caused by the minerals in your water.
Can detailing clay remove oxidation?
Yes, but... it's not a good idea to try.
This is because oxidized paint is just very tiny bits of clear-coat that have been degraded by the sun and are about to flake off the surface, which causes the white haziness of oxidation.
By using clay across this surface, the clay itself will pick up these loose particles which then become embedded in your clay and thereby contaminate it and shortening its lifespan. Synthetic clays can be washed to help avoid this, but you’re still using the wrong tool for the job because oxidation is not a bonded contaminant.
Once paint has started to oxidize to the level that you’re seeing it with your naked eye, it’s days are seriously numbered.
You can wash the surface and remove the loosest of the particles, but they will be quickly replaced with more decaying particles.
Polishing an oxidized surface may enhance its gloss and appearance but it will be very temporary.
The only permanent fix for a heavily oxidized paint surface is to repaint it. The paint has served its useful lifespan, it’s time to move on.
A temporary solution that is growing in popularity is to cover it up with a pigmented film or vinyl wrap.
How to tell if I need to use detailing clay?
So how do you know if you need to use detailing clay?
You don’t want to waste your time or money, but you want to take care of your expensive car and maintain that pride of ownership.
Your car needs to be “clayed” (as we detailing and valeting professionals call it) as part of its regular appearance care routine. This means at least once a year, usually during your regular deep-cleaning, washing, decontamination service.
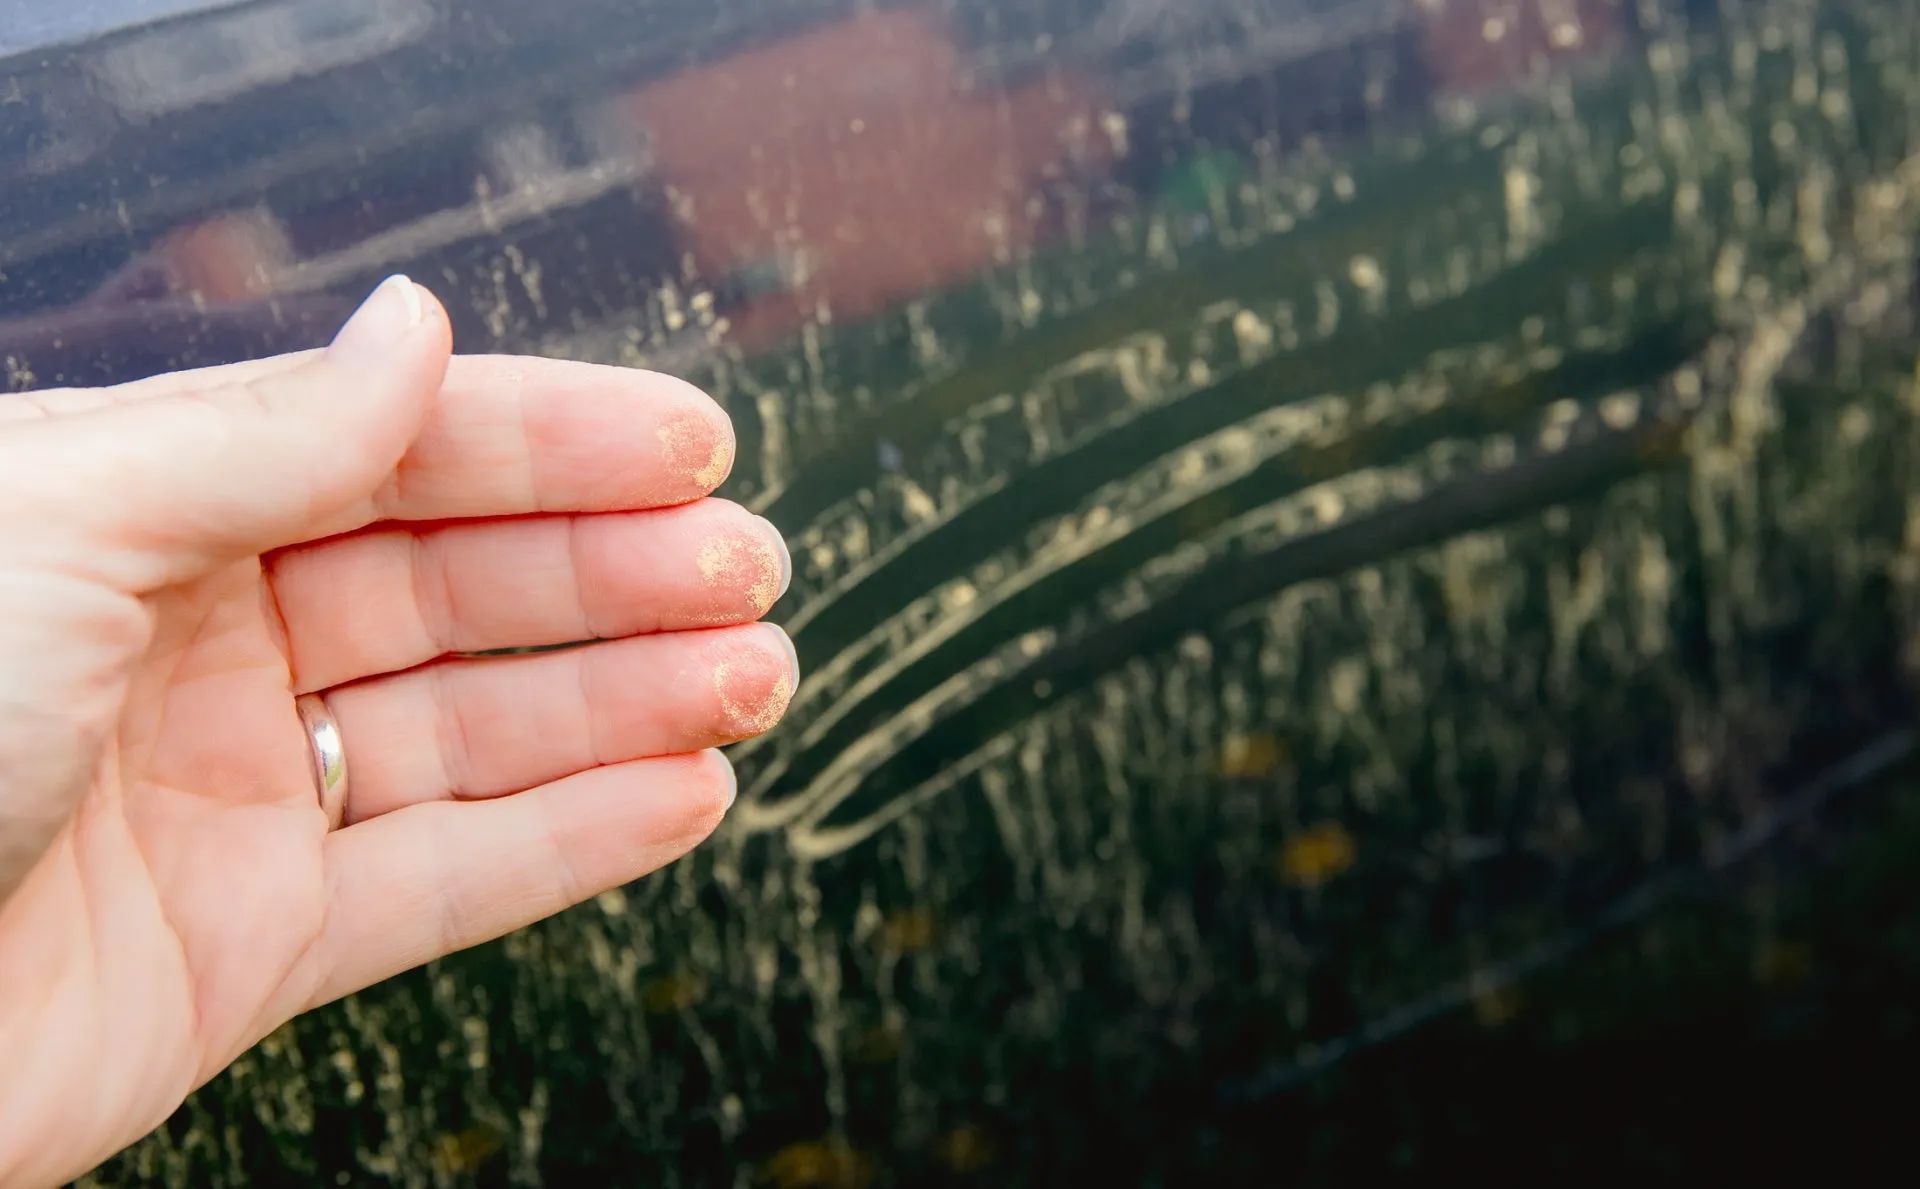
However, after every bi-weekly wash it’s a good idea to feel a couple areas on your paint to see if it feels smooth and glossy, or rough like sand paper. Do this immediately after a fresh detail job so you learn what it should feel like, then you’ll be able to notice when things start to gradually get rough.
If you see anything on your paint that shouldn’t be there after a wash, you should inspect closer to determine what it is, and whether it’s time for a clay treatment.
If you see someone spray-painting a building or house nearby it’s always a good idea to inspect your paint immediately thereafter due to how common it is for paint to easily drift very long distances onto your car’s surface.
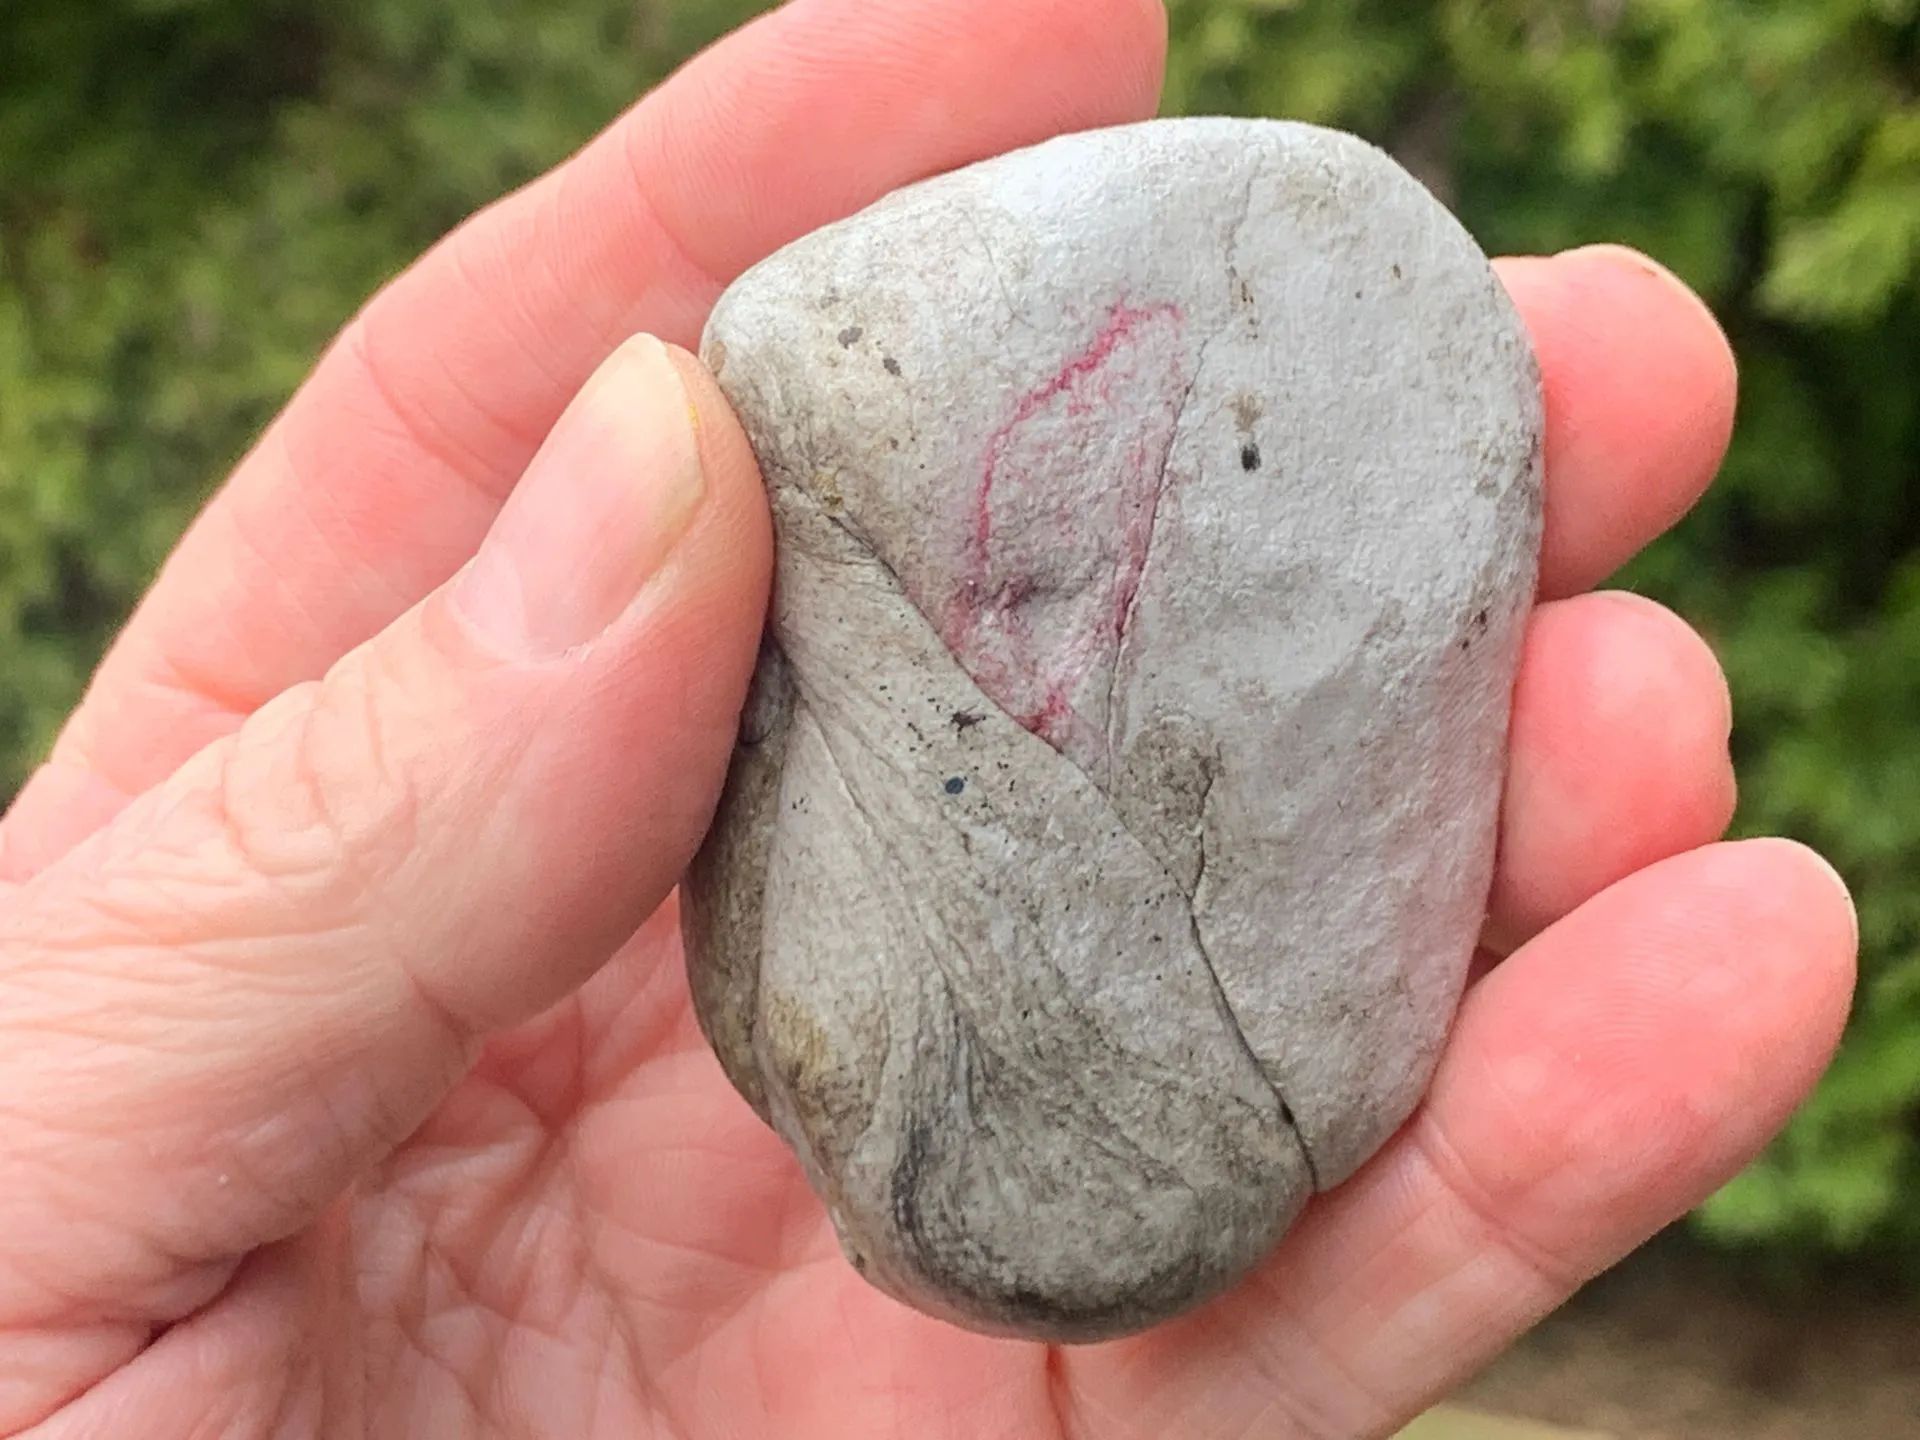
Pro tip: To really feel what’s going on with your paint, after your next wash, take a plastic sandwich bag and put your hand in it, then feel your paint’s surface. What do you feel?
You’ll notice that your touch becomes super sensitive to feeling many more contaminants than with your naked hand.
Now clay a section and repeat the sandwich bag test… see!!?? I’ve been doing this since the mid-90’s to show my clients that I wasn’t making things up about there being invisible contaminants sitting on their paint.
Potential damage caused by improper use of detailing clay
Can detailing clay cause damage? Can I scratch my car using clay?
Like any tool, clay has the potential to cause damage if used improperly.
Luckily, clay is fairly safe to use with just a little common sense and following the directions.
The potential for damage comes in the form of scratching your paint.
This can happen if a bit of hard debris gets trapped between the clay and your paint as you’re rubbing it back and forth across the surface.
This isn’t hard to imagine, and it happens quite frequently.
To make things worse, most people don’t realize they’re scratching their car because the surface is wet with the requisite lubricant while claying, so the small but deep scratches they’re causing go unnoticed… until they dry their car and gasp in horror at the damage they’ve just caused by their own negligence!
Also, there is the likely potential for what we detailing professionals call “clay marring”.
This is when after claying your paint, you can see very light marks on the paint.
You’ll notice these marks on darker colored surfaces more than on lighter colors.
These marks are generally not a cause for concern because they are easily removed with the next step of the detailing process, polishing.
This brings up another question…
"What are the different types of detailing clay, and what are the advantages and drawbacks of each?" (This is answered in the next section, continue reading...)
Generally, light colored cars can be clayed without polishing afterwards because you can’t see the possible marring that was caused by the clay process.
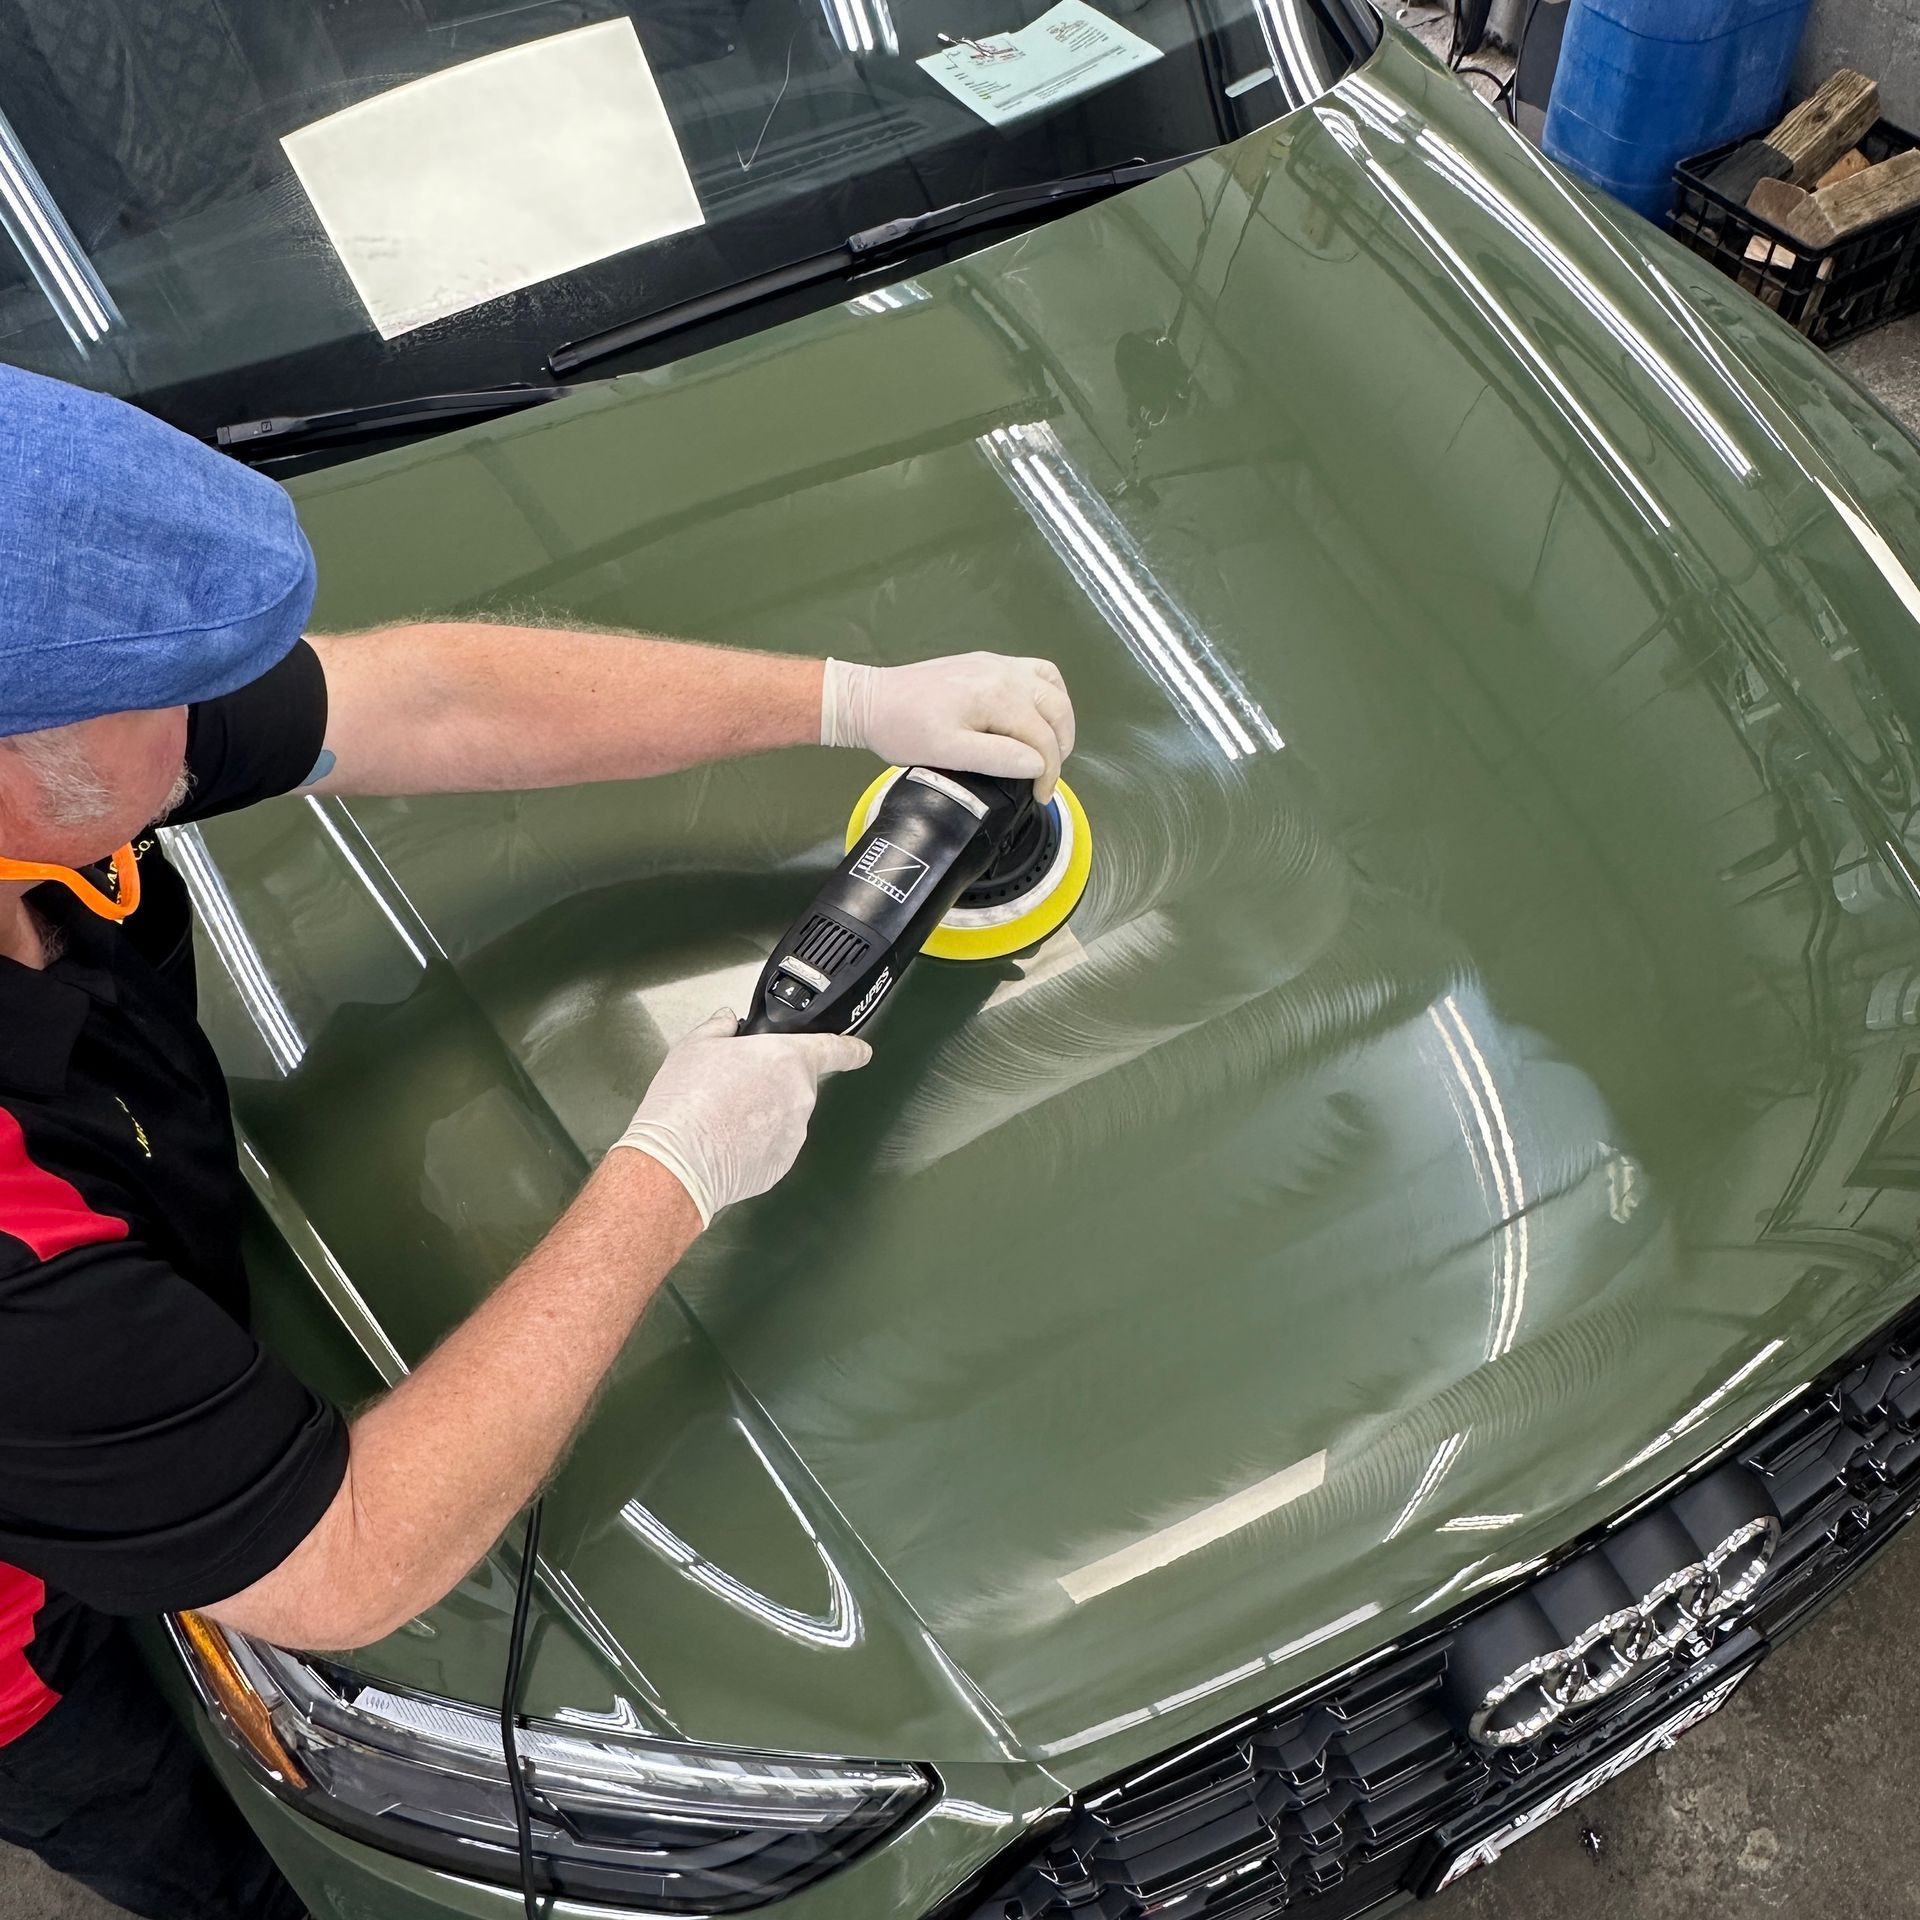
However, polishing is an important detailing step on its own regardless of using clay or not in the process.
This is because polishing restores maximum shine and reflectivity on the paint, which helps bounce the sun’s harmful UV rays back out away from the surface. (This is why matte finishes of the exact same color get hotter to the touch than glossy surfaces… it’s all about UV rays!)
…and besides, if you’re doing all this work to maintain your paint’s lifespan and appearance, you want it as glossy as possible, right?
So although it’s not a requirement to polish your car after using clay, it’s leaving the job half finished, isn’t it?
Some professional detailers offer a “Wash, clay, wax” service.
They do not polish your paint after using clay, they just go straight to the waxing step.
Is this a proper procedure, or are they cutting corners?
This is like asking if just vacuuming your carpets is ok, or do you need to do a full deep steam-cleaning every single month?
Each process is part of a larger maintenance regimen.
So doing a wash, clay, wax service is ok, as long as the polishing service is added during the annual deep-detailing service.
Pro tip: use a
liquid wax as a clay lubricant to save a step.
Can I use clay on paint protection film (aka Clear Bra, PPF)?
Never use clay on matte or satin films.
It will only shred the clay and make a mess, providing no useful benefit while adding more cleaning work for you.
You can use clay on glossy paint protection film, with a caveat... there is a high potential for causing permanent scratches on your PPF so special care must be used.
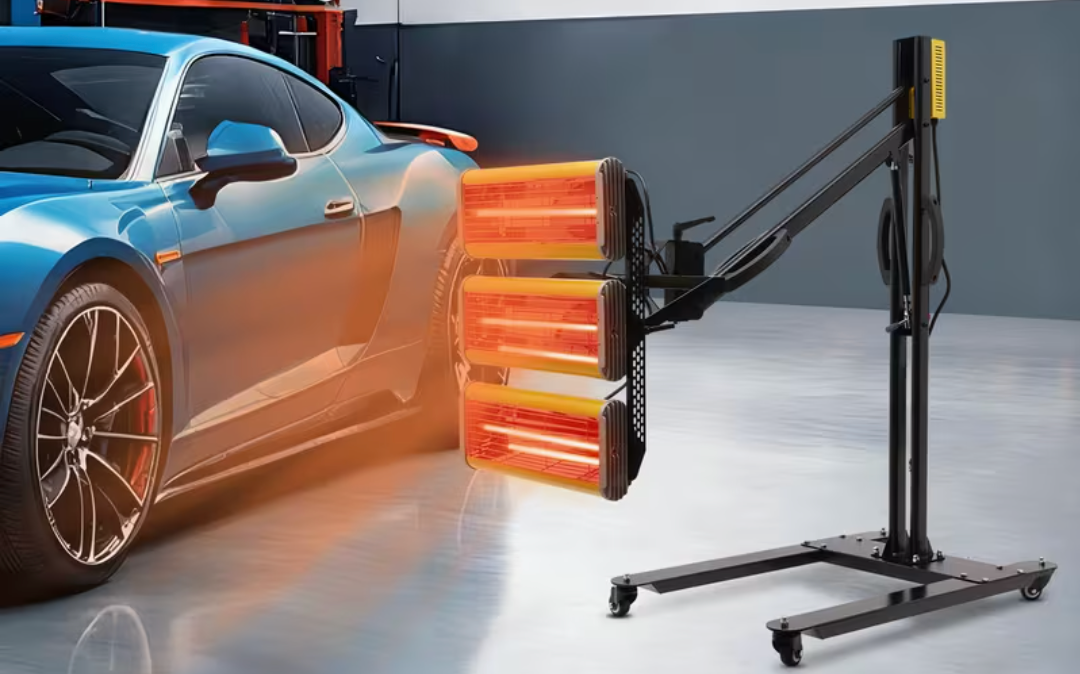
Most modern paint protection films are “self healing”, which means their surfaces can somewhat “flow” with the application of heat in order to fill in very light surface scratches.
This means that some of the inevitable marring that happens while claying may be able to be removed on self-healing films.
But what happens if the marring is too severe, or deeper scratches are caused by the clay process?
Well then you’re out of luck and you’re stuck with the permanent scratches you just caused.
(At least you didn’t scratch your paint though, right?)
For this reason, it’s generally preferred to leave claying PPF to a detailing professional.
Sometimes though, as a last-ditch effort to save your PPF it is understandable to go all-out and clay your PPF.
When might this be needed?
Let’s say you accidentally drive over a spray-paint can and it explodes paint all over your PPF (I’ve been a professional detailer since 1995, yes this happens more frequently than you might imagine)
If the only solution to removing the over-spray is to pay a professional to remove and replace your PPF, then why not try the cheaper, albeit likely destructive, method of aggressively claying your PPF?
The worse that could happen is you cause permanent damage and have to replace your PPF anyway.
But if the improbable-but-wonderful scenario happens of you removing the spray paint and it looks beautiful afterwards, than yay for you!
I mean, isn’t that why you had PPF installed in the first place, to protect your original paint?
In summary, it’s best to contact whomever installed your PPF and ask them the safest way to remove whatever is offending you on the PPF surface.
If you don’t know who installed your PPF, contact the best professional PPF installer in your area and ask them.
Can I use detailing clay on a ceramic coated car?
Yes it is absolutely safe to use clay on a ceramic coated car, but you’ll find that ceramic coated cars need clay far less than waxed or naked cars. This is because ceramic coatings where specifically designed to make it very difficult for airborne contaminants to bond to your paint.
If you need proof of this, just apply a ceramic coating to half of your hood, then check on the paint’s condition after a year on the road.
Which side feels cleaner and slicker? Nuff said.
But even a ceramic coated car isn’t 100% impervious to bonded contaminants, and claying it will quickly release them and get you back into shape with little effort.
What does it mean when a clay product mentions how “aggressive” it is? | Mild, Medium or Heavy clay?
Think of a clay’s aggressiveness as being similar to different levels of sandpaper.
On one hand, a light sandpaper may barely scuff a surface and just level out the most minor bumps.
On the other end of the spectrum, a more aggressive sandpaper will strip the paint off a battleship! You get the idea.
Detailing clay products work the same way; they contain varying levels of abrasives in order to remove varying levels of bonded contaminants. This means you only want to use the least aggressive clay to remove whatever it is on your paint.
Go with too aggressive and you’ll induce more severe marring or hazing (minor scratches) that will require much more polishing to remove.
Until you’re a seasoned veteran, always start with the least aggressive clay.
Since most clay products sold to the general public are the least aggressive this shouldn’t be a problem.
Just be aware that if a product says aggressive, heavy duty, or something similar, you better know how to polish paint like a pro to remove the light scratches you’re about to cause!
What are the different types of detailing clay, and what are the advantages and drawbacks of each kind?
Hoo boy this info changes almost daily nowadays, due mostly to every online retailer of detailing clay products trying to cash in on the next detailing marketing buzzword of the day.
To simplify things for you, detailing clay can be broken down into 3 basic categories.
All of these come in various stages of “aggressiveness” as mentioned in the previous section.
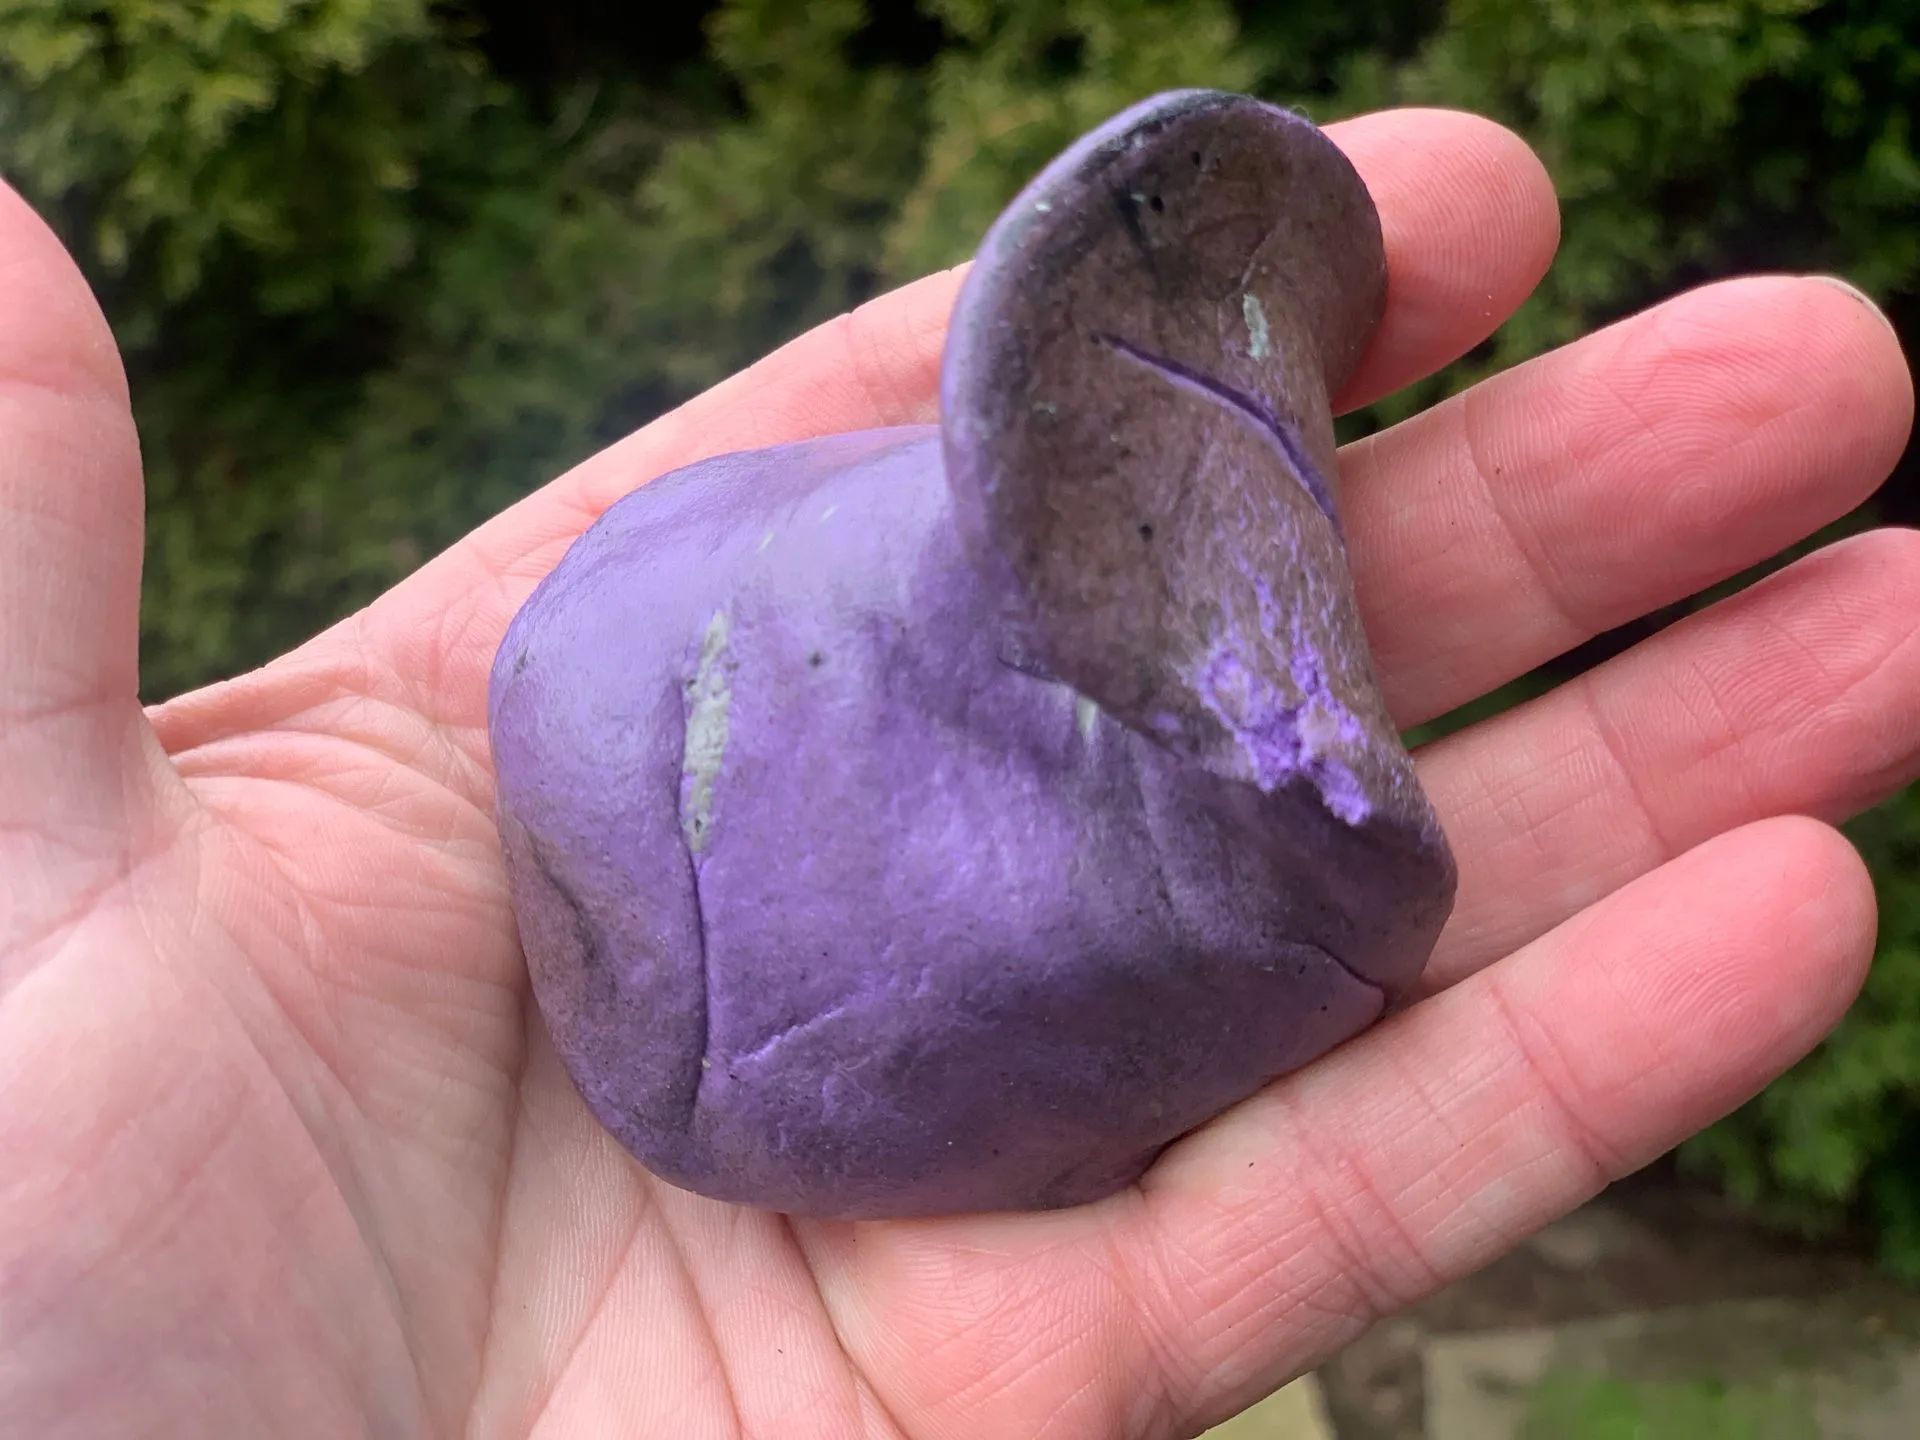
Traditional clay bar
This is the original invention by Tadao Kodate of Joybond Co. in Japan.
They are now manufactured by several companies in various colors and levels of aggressiveness.
They look almost the same as synthetic clay bars, but will have less of a plasticy-stretchable feel and more of a play-dough feel. Either texture is fine, it’s just how you can tell the difference when examining each one side-by-side. In fact, most labels nowadays do not even mention whether it is a traditional or synthetic clay product.
Ultimately it really doesn't matter as long as the product is useful.
But if you start noticing these differences in your clay bar products, now you know why and what's going on.
These traditional clays are very easy to use but do have some drawbacks.
One drawback of traditional clay bars are that they are the most susceptible to contamination, most often caused by accidentally dropping them on the ground.
You can scrape and cut the contaminated section off and throw it away, but since this gets expensive pretty quickly, you learn to be extra careful when using traditional clay.
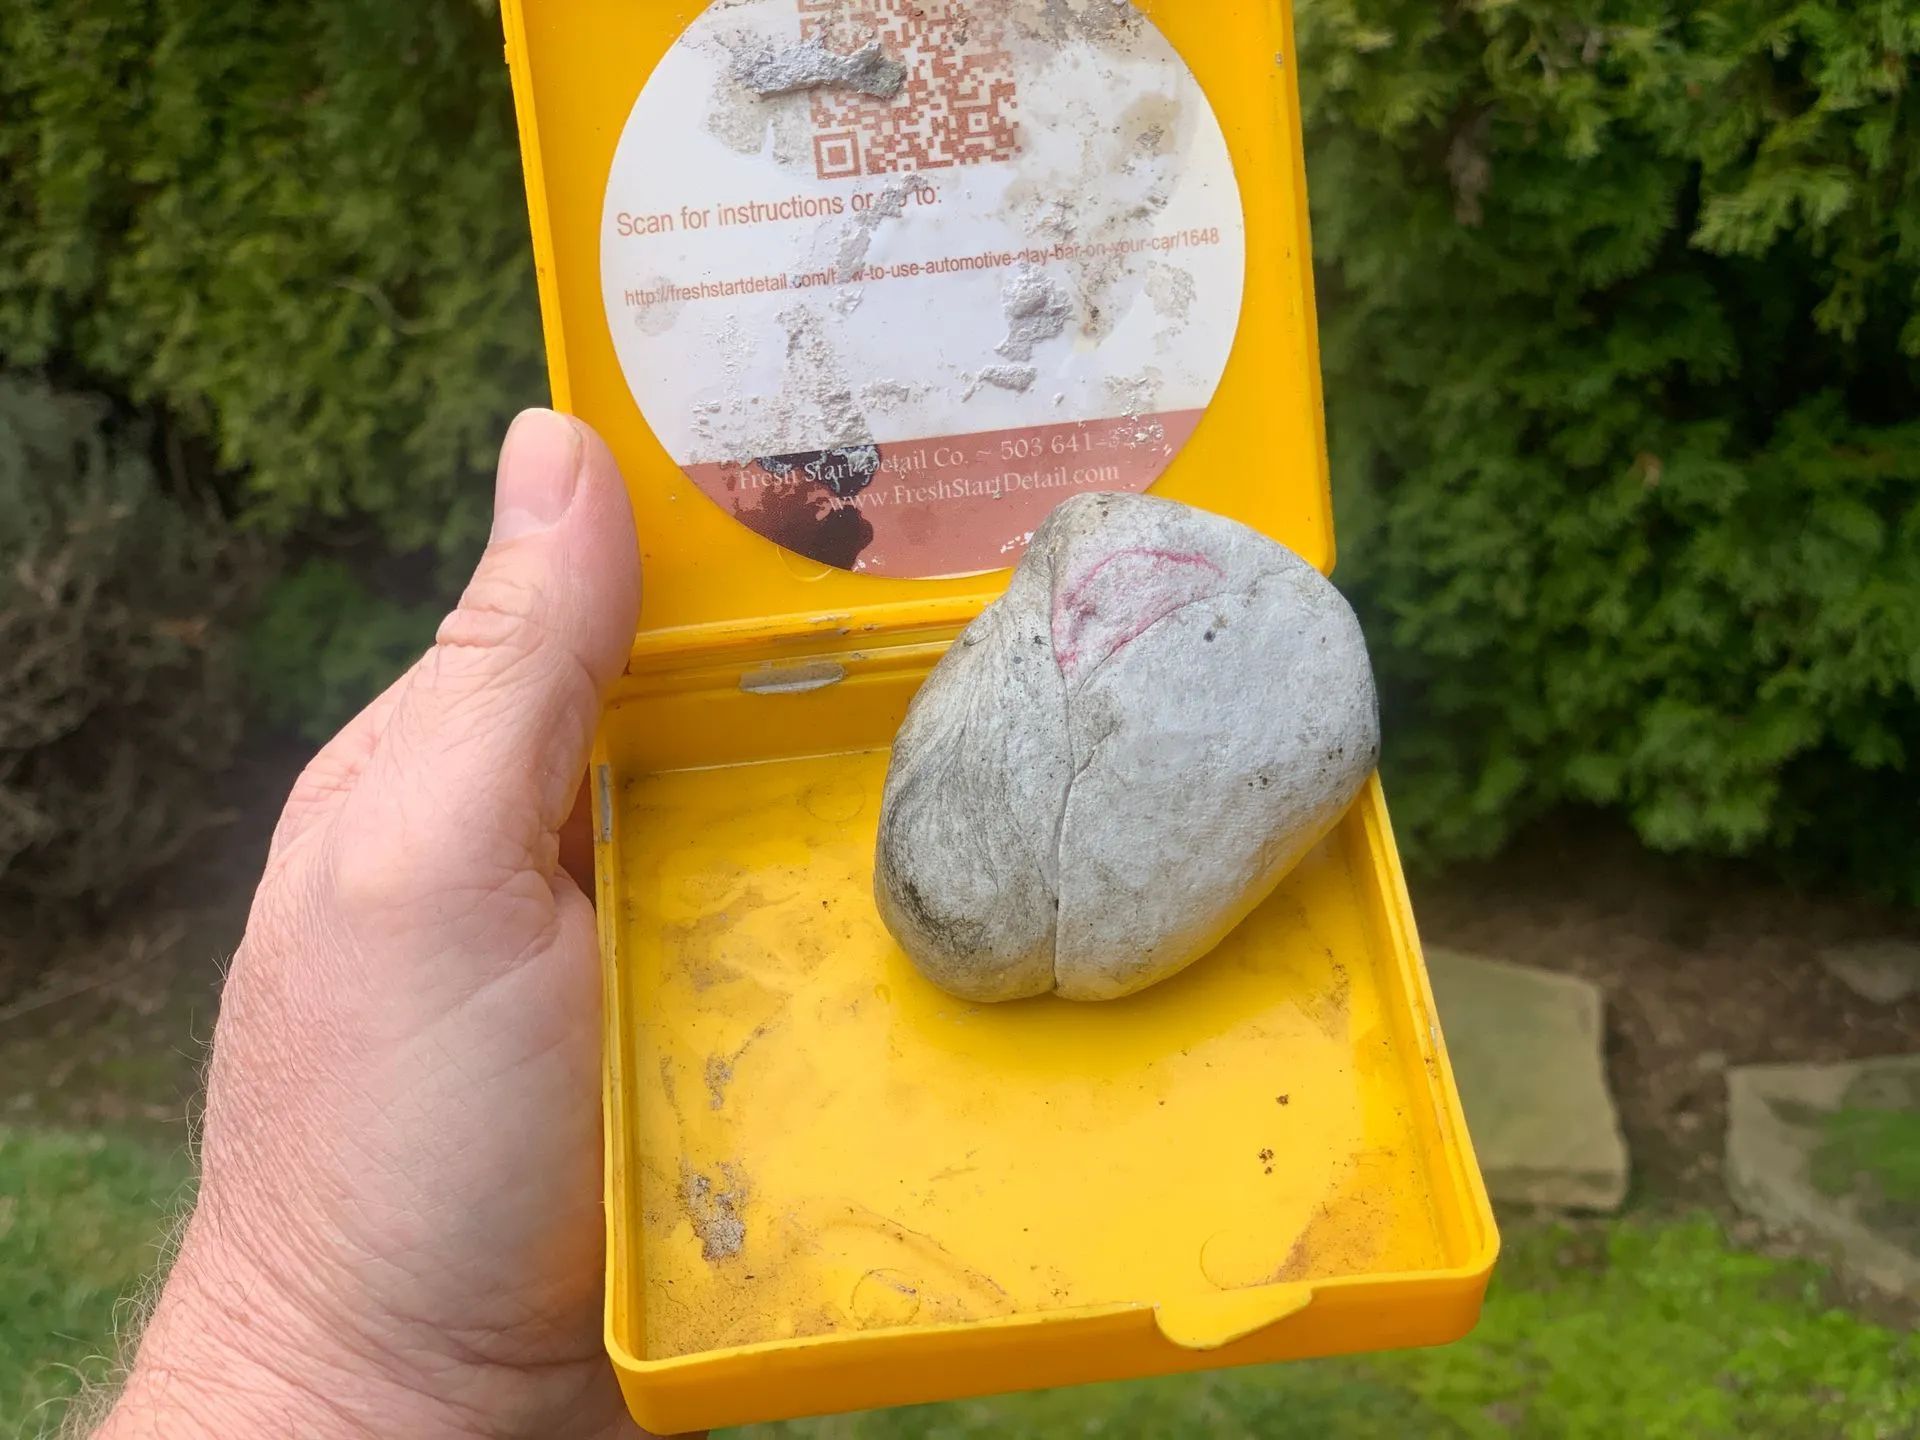
Another drawback of traditional clay when compared to other styles of clay is storage.
Since they are so susceptible to contamination by debris, they must be stored in a closed container of some kind (most are sold in a plastic tub with a lid), but over time they adhere to the tub and become increasingly difficult to remove and manipulate.
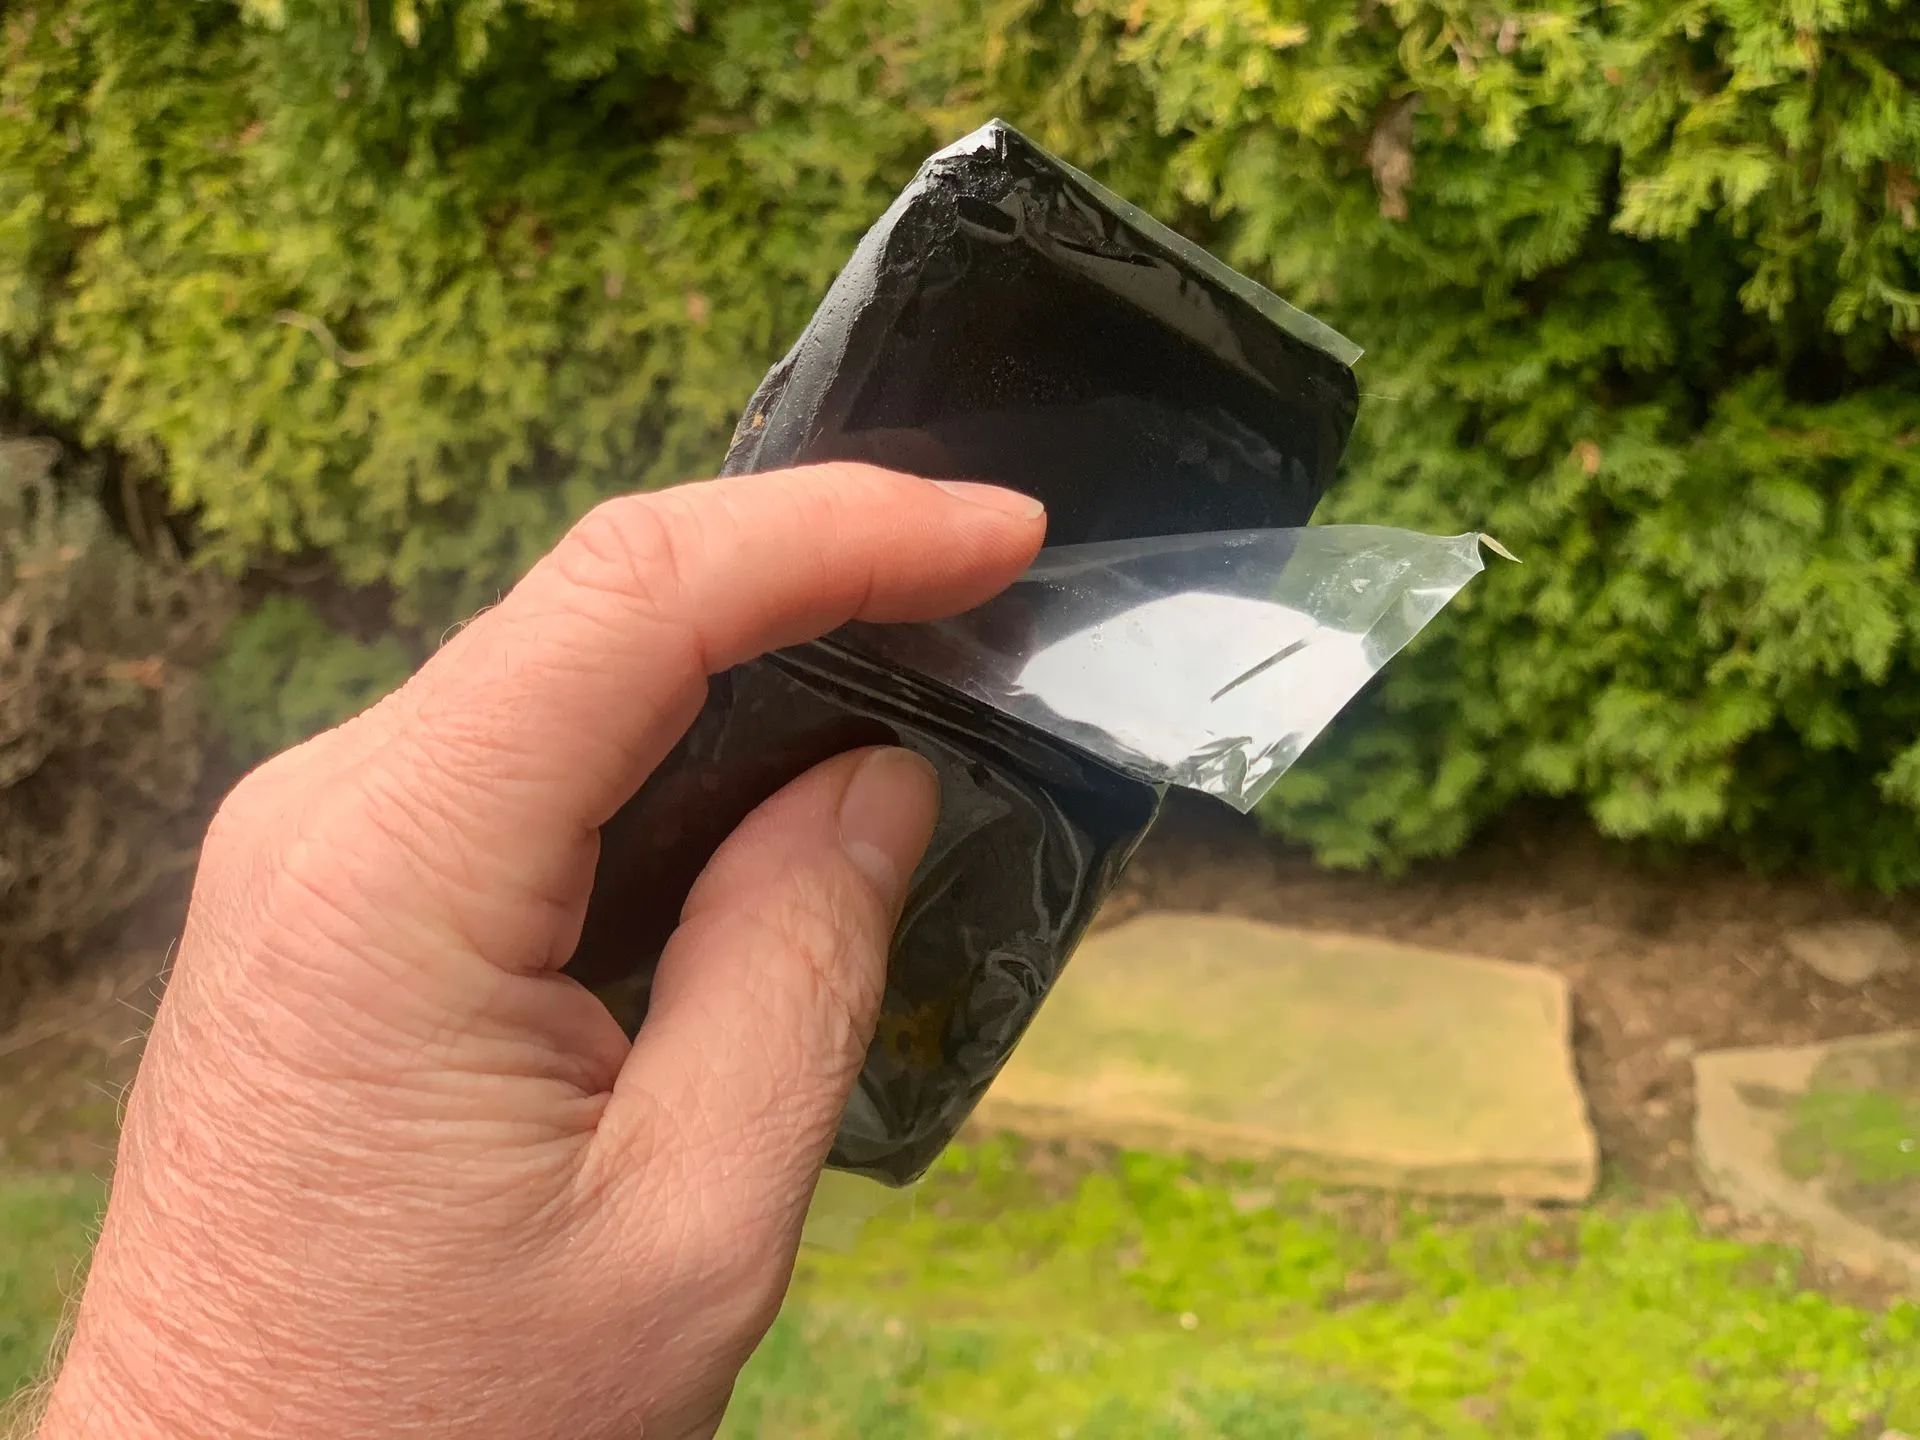
The same goes for storing them in a plastic bag; a seemingly simple solution at first but over time it can become an unmanageable mess. (Watch this funny video of me trying to remove a clay bar from a package)
Synthetic clay bar
Synthetic clay bars were originally designed as a way to get around the patent of the original clay bar.
They were very poor in quality when they were first introduced, but there have been advancements and now they can be quite useful.
They benefit from being more resilient against damaging contaminants being permanently embedded within them.
For example, imagine if you dropped your clay bar in your gravel driveway… a traditional clay bar would now be embedded with all those little rocks that would scratch the daylights out of your paint.
This forces you to literally cut off that dirty section of clay and throw it away.
Since clay bars used to cost $60 this was no small financial injury!
But synthetic clays don’t quite “absorb” small stones as readily, meaning they can be washed off more easily.
The trade-off is that synthetic clays can be more “fussy” to use than traditional clay.
But honestly this is usually only noticed by professionals who use clay daily and become accustomed to each product’s minute characteristics.
For storage, they are a little better than traditional clays regarding sticking to the plastic bins or bags they come in, but it’s still a minor inconvenience.
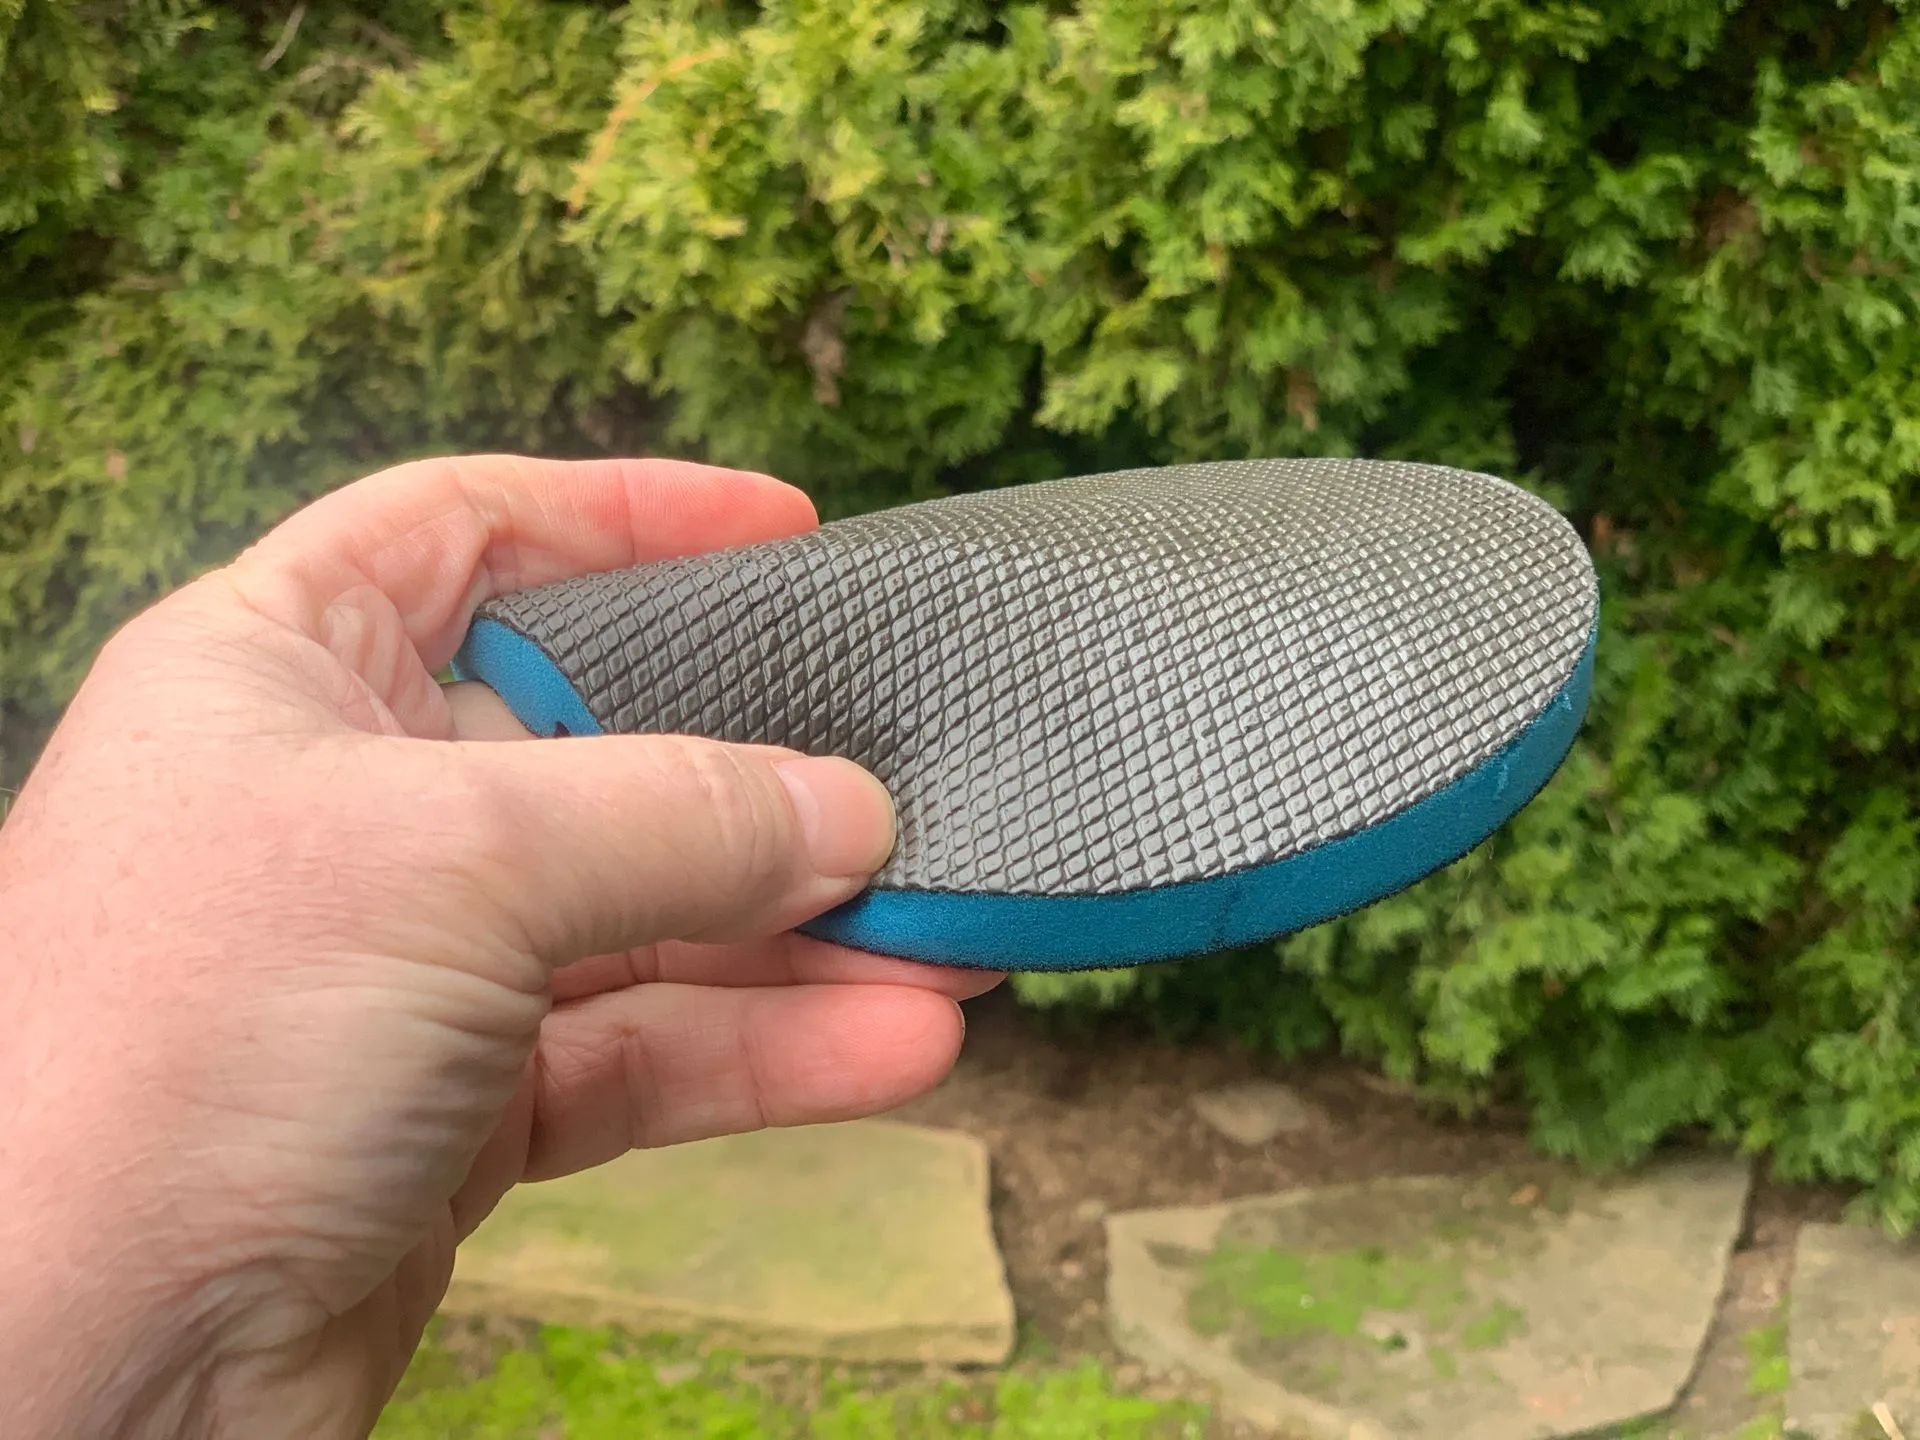
Clay-infused towels, mitts, sponges, etc.
These products have come a long ways in their quality and usefulness.
Although not as aggressive as traditional clay, for a vast majority of claying jobs, these products work great.
Only when you need the most aggressive clay will these products fall short; and since aggressive clay comes with the huge potential of damaging your paint in the hands of an untrained professional, it’s best to avoid these products anyway until you’ve practiced extensively.
Another benefit is that they can be cleaned and reused if they get dropped or otherwise contaminated.
They’re also just easier to use in general because of the inherent simplicity of wiping a towel or mitt across a surface, versus kneading a small, expensive, delicate clay bar into the proper shape, then meticulously rubbing it over every square inch of your car, all the while fretting about dropping it and thereby destroying it!
Storage Requirements for Clay Towels and Pads
Another huge benefit of clay towels is their storage requirements.
Of course you should always follow the storage instructions on the package, but most of them can be cleaned, folded and stacked as needed until the next use.
However, some clay towels will stick to themselves or the plastic packaging if left for long periods.
This forces you to rip them off which virtually destroys the towel.
This is why it is recommended to store them with no clay surface touching itself or the package.
How do you do that? Some detailers buy large Tupperware-type bins to stack their clay towels in. This helps keep them free from airborne contaminants like dust, while preserving the clay surface too.
How the Pros Store Their Clay Towels and Pads
In my professional detailing business I use clay towels almost exclusively until the odd severe over-spray job comes in that requires a very aggressive clay to remove.
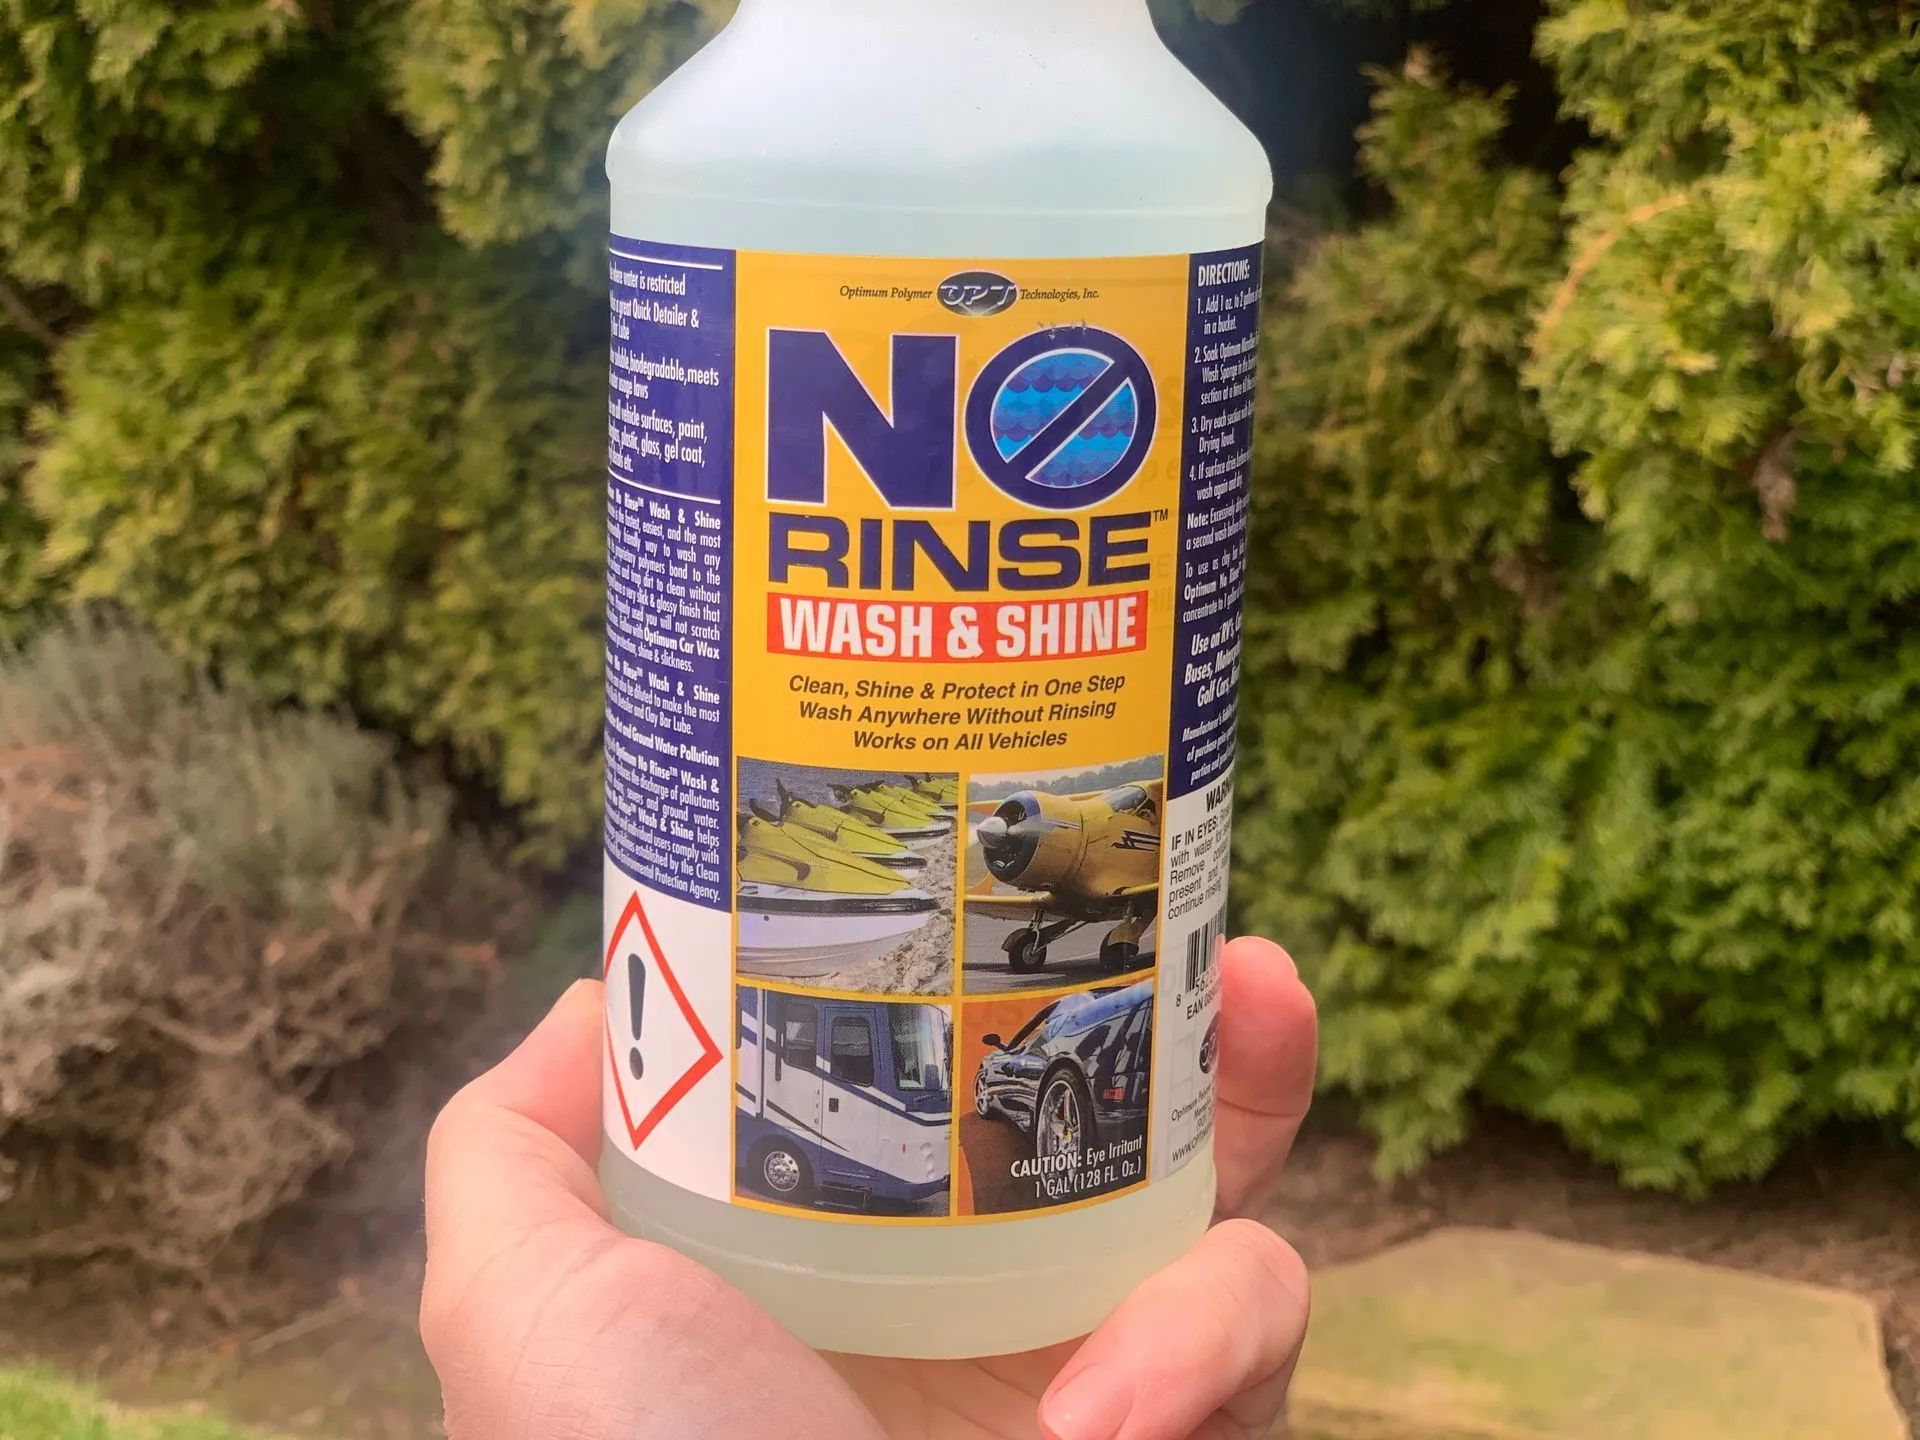
Since I’m using them literally daily, I can “store” my clay towels in my bucket of ONR (One-Step No Rinse) permanently.
How?
Put a Grit Guard in the bottom of a clean bucket and put 4 gallons of properly diluted ONR 256:1, then throw your clay towels in, that’s it.
When you’re ready to use them just grab one out of the bucket, spray your lubricant on the paint surface and go to town.
When you’re done, throw the clay towel back in the bucket.
Any remaining sediment on the towel falls to the bottom of the bucket so your towels are always clean and ready to go.
No cleaning, no drying out, no dry storage sticking issues!
Once a week I drain the bucket and replace with clean ONR solution.
Since I started using this method I’ve literally never dry-stored a clay towel.
The moral to this story for all you DIYers out there?? Quit messing around with part-time detailing and become a full-time pro like me!
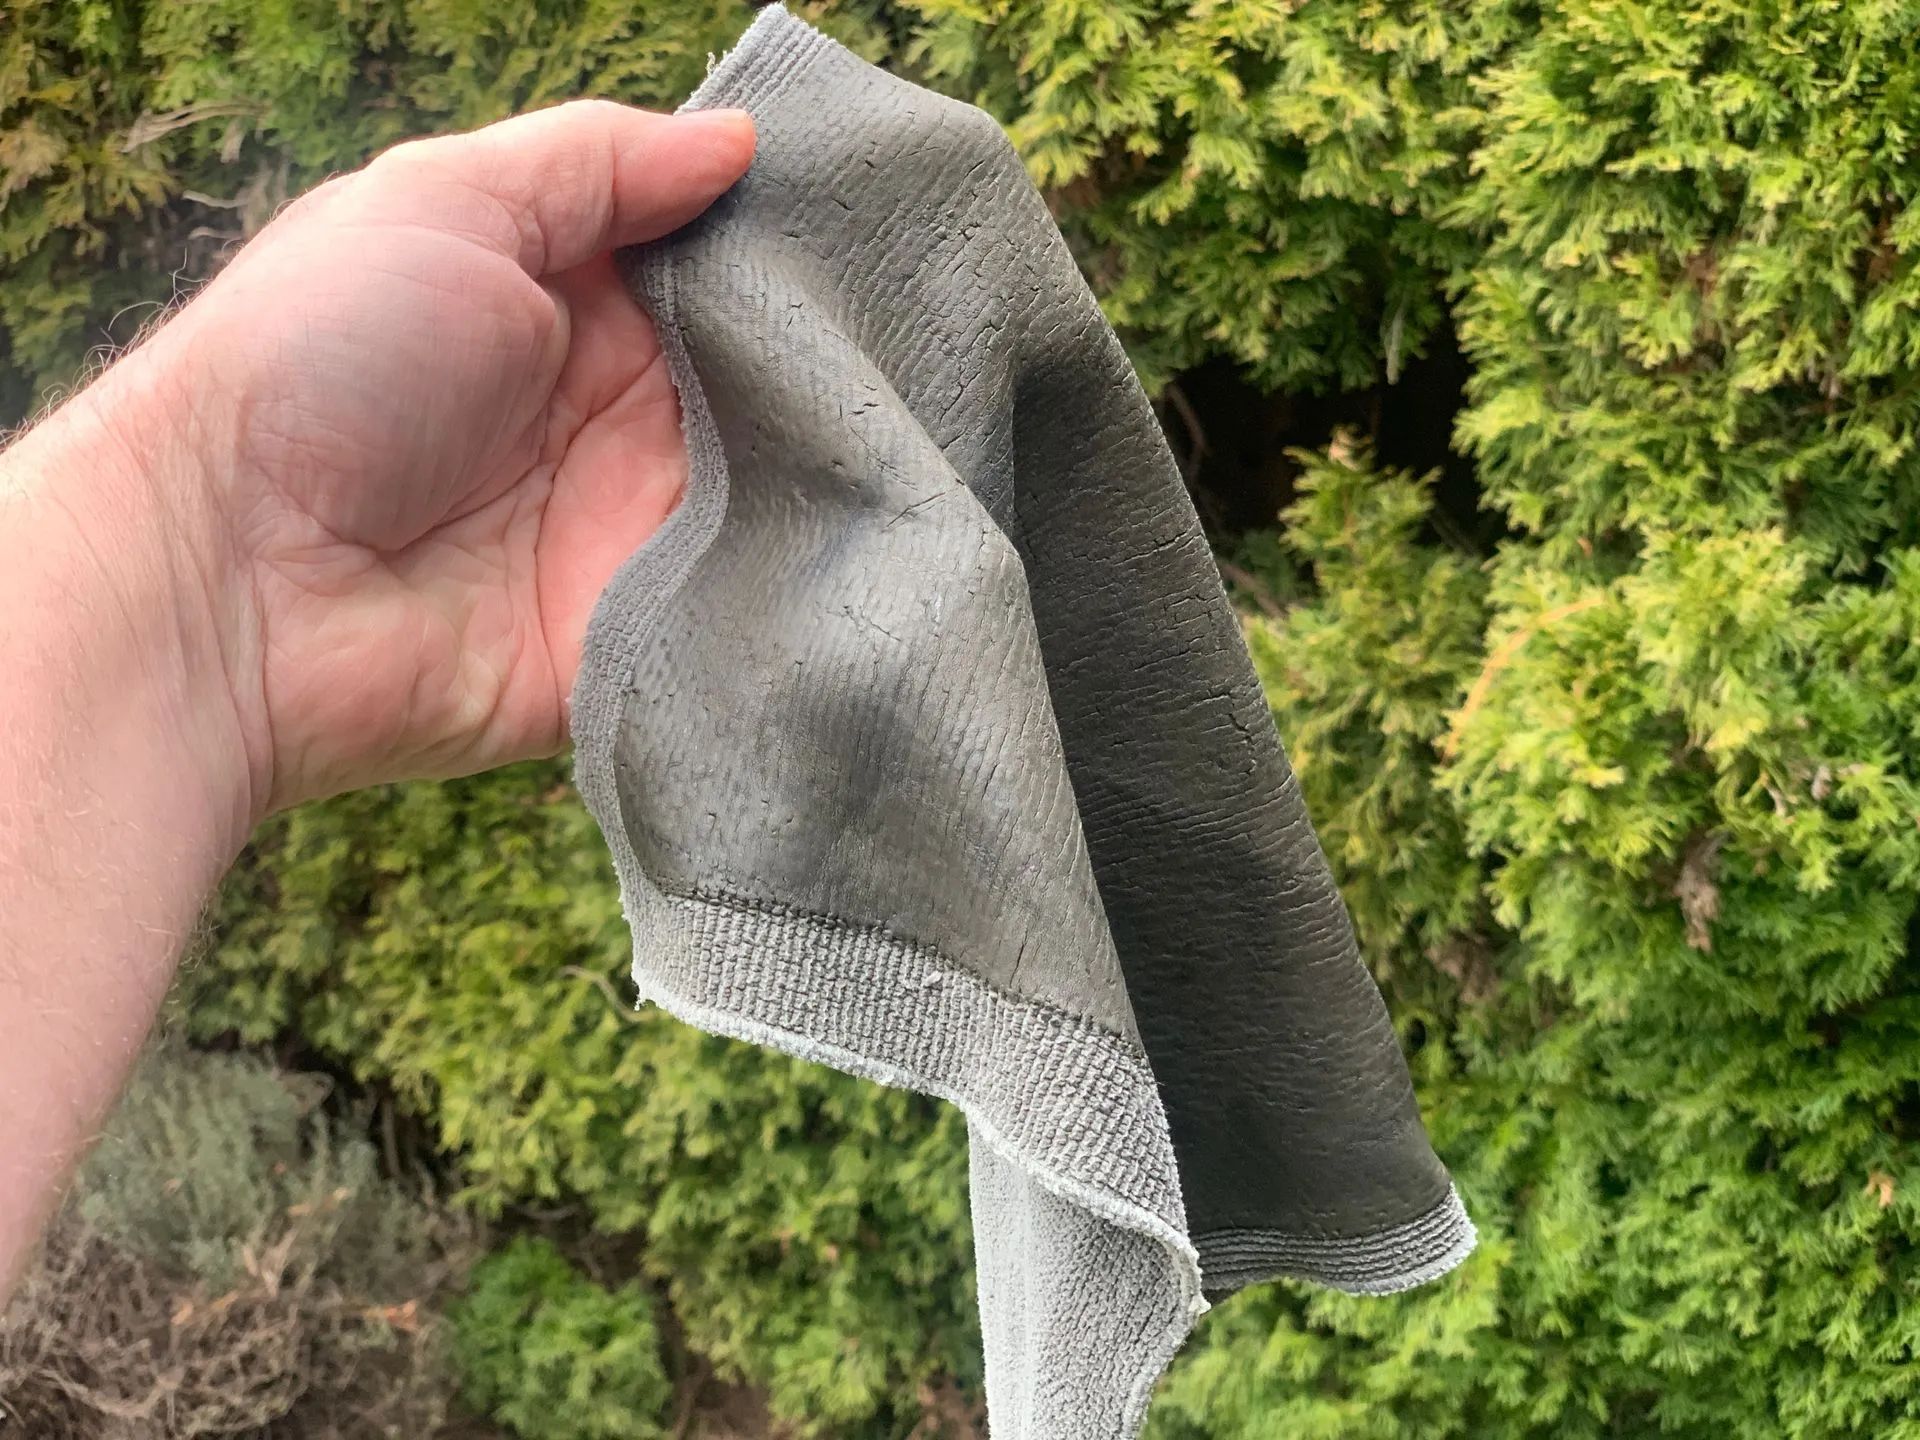
A very minor downside of clay towels is that many of them require a short break-in period.
This is because when new, they are stiff and can leave small streaks of clay residue on your paint.
These streaks aren’t serious, and they’re easily removed by a solvent, more of a minor inconvenience than anything.
So to break them in, just make a lap around your car by claying all your exterior windows.
For an unknown reason, the new clay won’t leave streaks on glass but it still prepares them for use on paint.
Once a towel is broken in during those few minutes, you're good to go for the life of the towel. (You never need to break them in again)
Interestingly, not all clay towels need breaking-in, just know that if you see streaks when using your brand new towel, don’t panic.
Which detailing clay is best for me?
I strongly recommend starting with a mild clay towel because they’re the easiest to use, and least likely to cause damage to your paint.
Once you’re comfortable using that towel, you can graduate up to synthetic and traditional bars if needed, but honestly most people never need those, and are better off leaving those to the professionals.
Due to the myriad detailing clay products available, it is impossible to do a fair comparison and rating of every single one.
However, I can guarantee that most detailing professionals learn pretty quickly which products are a great value and which ones are all talk and a waste of money.
So the easiest way to get a good list of products is to call the highest rated detailer in your town. They’ll quickly tell you which products they use, and why, and where to buy them.
Most detailing professionals will be happy to give you a free demo.
We love showing off our tricks!
Where is the best place to buy detailing clay?
Once you find a product you want to try, it’s simple enough to search for an online retailer.
But as mentioned previously, visiting your local detailer is the best starting place.
Even if they can’t sell you a clay product, they’ll point you in the right direction to buy the best products for the best price.
I mean, we’re in the business of finding and using the best tools for the lowest possible cost, right?
What are potential rip-offs and scams related to buying a detailing clay product?
The biggest risk is buying a clay product is that it is just cheap unusable garbage.
So don’t shop based on price first.
Look at reviews, especially reviews from professional detailers who use these products every single day to earn their living.
Trying to save a few bucks by buying a cheap detailing clay is the fastest way to throw your money away.
If you care enough about your car’s paint to go through all the trouble of claying it yourself, listen to the professionals.
How long do detailing clay products last?
How many uses can you get out of your detailing clay product?
Clay towels last the longest, followed by synthetic bars, and finally the traditional clay bars.
However, like any tool, the lifespan will depend on how you take care of it and what it is used for.
When clay is used to remove severe deposits it naturally gets used up faster than if it is only used for mild spot-cleaning occasionally.
Having said this, my clay towels will last about a year at my professional detail shop with daily use.
That's some serious lifespan and value from a seemingly expensive tool!
But if you're the type that drops your clay bars often, and doesn't store them properly they'll poop out on you very quickly.
They're too expensive to waste, so take care of your tools!
When is a clay bar or clay towel “used up”? | When do I need to throw it away?
For clay bars, they should be discarded when they become contaminated with bits of debris, or if they start to fall apart instead of holding together.
As mentioned earlier, dropping a clay bar is the fastest way to ruin it because it becomes embedded with those small pebbles that will scratch your paint like crazy.
But clay bars also slowly become contaminated by their natural use of picking up the small contaminants from your paint, something they’re specifically designed to do, but nonetheless lead to their eventual destruction.
But the question still remains, how do you know when your clay bar is going to cause scratches, before it starts causing scratches?!
Simple, test a small inconspicuous place on your car, or on another less valuable car first, then dry it off and inspect the area with a flashlight or in the direct sun.
But honestly, you should know if you’ve dropped your clay and ruined it.
A clay bar won’t go from perfectly useful to a scratching mess overnight for no reason.
Clay towels do not become contaminated like the bars do, but instead they just slowly lose their effectiveness and start to shred and fall apart.
But a quality towel can last literally years.
In my professional detailing business I get at least 1 year of daily use out of each high-quality towel I buy.
They end up costing me pennies per use.
How to safely use detailing clay on your car
This topic has been covered ad nauseam, but there is also a lot of misinformation and outright fake news in regards to the proper use of detailing clay so let’s just cover the most important basic procedures here.
The first, blatantly obvious, step is to read any instructions on the packaging.
Aside from that, here are the best practices for using clay:
A warm day or warm garage will help you immensely.
60-75F makes a clay bar malleable enough to shape it how you want without falling apart.
It also allows the clay to glide across the surface easier.
Too cold and your clay will feel like a rock, too warm and the clay will feel like chewing gum and will stick and smear across the surface.
So it's best to use your clay in the shade or in a garage to avoid extremely warm temperatures.
Wash and rinse your car appropriately.
It’s ok to leave the car wet since we’re going to be spraying lubricant on it anyway, but be mindful to not allow the remaining panels to air-dry, while you’re working, causing hard water spots.
(Yes I know we’re claying anyway, which should remove any water spots that may have formed in the hour since we washed it, but why risk it and potentially add more work for ourselves? Either keep the entire car wet and work quickly, or dry the car off completely and work in sections, drying as you go.)
Pro tip: move to rainy Portland, Oregon and clay your car outside in the rain… your car never dries so you never get hard water spots!
What lubricant should be used with detailing clay bars?
Most quick detailing sprays will work, but the run-away favorite product by professionals is One-step No Rinse (ONR) by Optimum Polymer Technologies.
No matter which product you use, you should check to make sure the label doesn’t say that it shouldn’t be used as a clay lube.
This happens most often with detailing sprays that have detergents in them.
Pro tip: use a liquid wax as a clay lubricant to save a step.
Now that your car is clean, liberally spray the panel with your lubricant.
Professionals usually use half-gallon pressurized sprayers like IK Sprayers for speed and convenience.
The DIYer can easily just use a typical trigger spray bottle.
Then moisten your clay bar/towel/mitt with the same lubricant and start rubbing a small section.
Use about the weight of your hand and arm for pressure, no need to push hard, or to lightly tickle the surface, just use a comfortable pressure to allow the clay to do its work.
Use back-and-forth stokes at a comfortable length.
No need to go crazy here with micro strokes or huge swipes, just be comfortable.
This is going to take awhile to clay your whole vehicle so go easy hombre.
Also, it’s best to use strokes back and forth in the direction that the wind flows over the car (longitudinally).
This is what we pros do to make the inevitable micro-marring appear less prominent than would otherwise be caused by circular or random lateral strokes.
To see your progress, just dry off an area and feel with your hand the difference between the before and after sections. Still rough?
Keep going until it is absolutely perfectly smooth.
Sometimes this happens quickly, and sometimes you’ll feel like you need shoulder-replacement surgery afterwards.
If it’s really bad then you probably need to switch to a more aggressive clay, or surrender to a professional detailer who can do it much faster and safer.
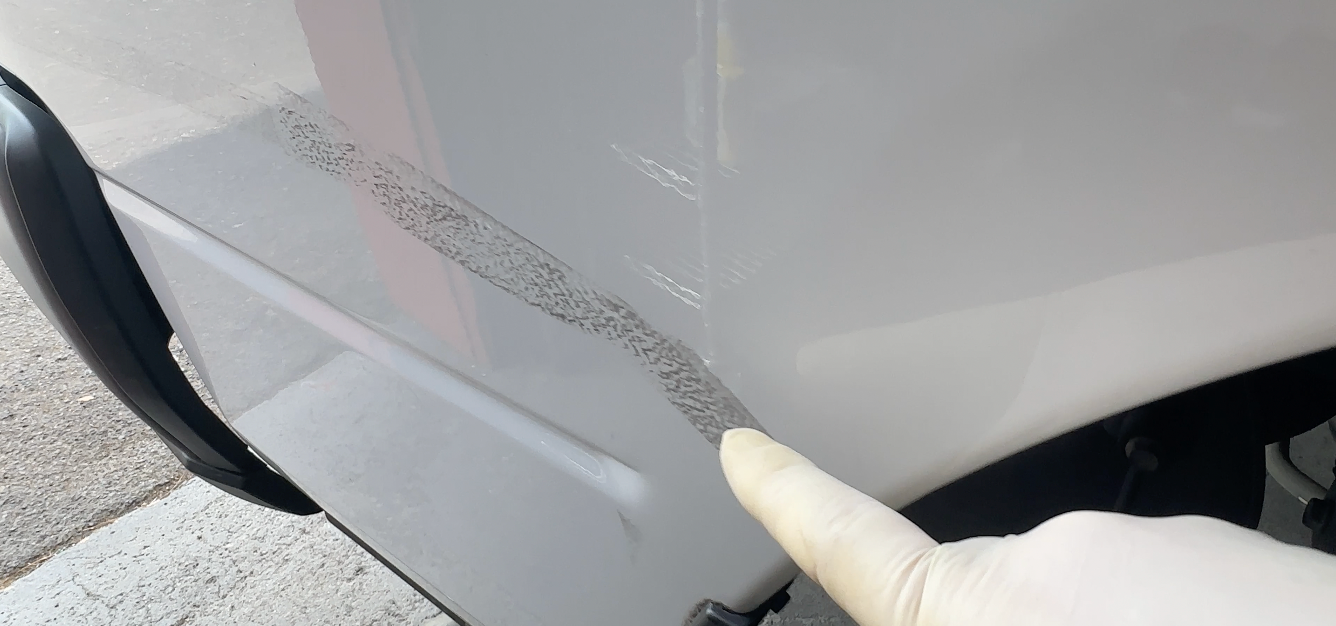
But it’s not all about feel; if you can actually see the bonded contaminants you’re trying to remove (like if you have over-spray on your car) then of course you’ll visually inspect as you go also.
After a few sections you’ll start to get a feel for how hard to push and how long to rub each section to accomplish your goal.
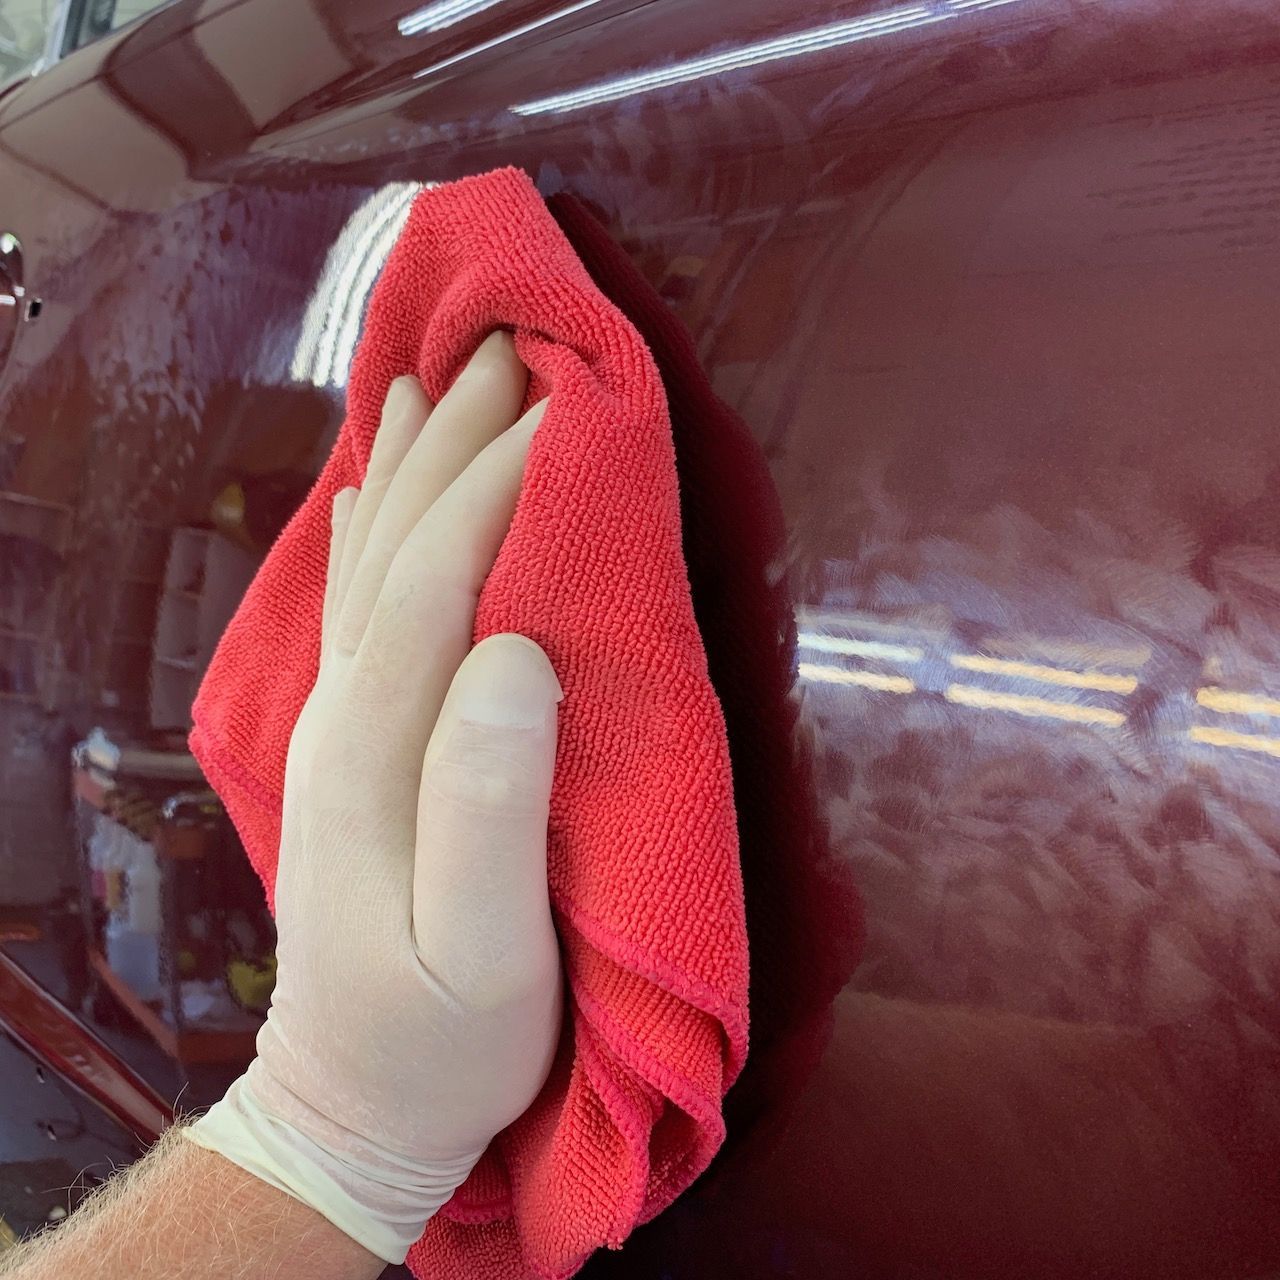
When you’re done with a panel, rinse and dry it off and move onto the next.
As you go you’ll notice that the horizontal surfaces are usually much rougher than the vertical ones.
This is proof that most of the bonded contaminants are from airborne particles that drop from above and have an easier time attaching themselves to your paint due to gravity rather than getting splashed up from the road on the sides. (Although road-tar and yellow road paint splatters are notable exceptions.)
That’s it! As soon as your entire car it as smooth as new glass then your clay has accomplished all it can do.
If you can still see specks on your paint but you cannot feel them then your little contaminant friends have burrowed a little deeper into your paint.
No need to panic yet, there are ways to remove these little guys, but that will be a separate (and stinky) article. You’ll see why soon enough.